As you progress through the main series of quests in Avatar: Frontiers of Pandora, you will come to the mission Take Flight relatively quickly. This is a must-play mission, so I would advise skipping the side quests at first to get to Take Flight sooner.
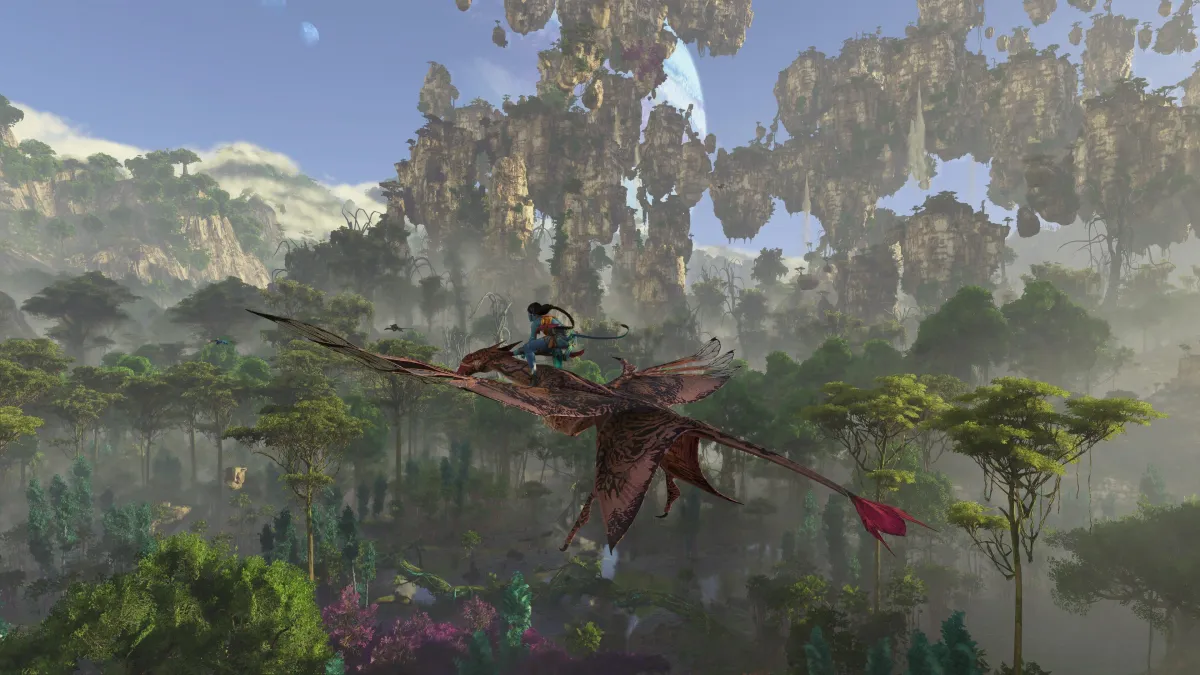
This is the mission where you will get your Ikran, a companion that you can fly around the skies of Pandora on. Not only is having your own Ikran a super cool feature—who doesn’t want an alien lizard bird pet?—, but it is also a practical necessity for traveling long distances in the game.
With this in mind, we are going to be looking at how to complete the Take Flight mission in Avatar: Frontiers of Pandora, as well as how to get started with flying on your Ikran.
How to begin the Take Flight mission in Avatar: Frontiers of Pandora
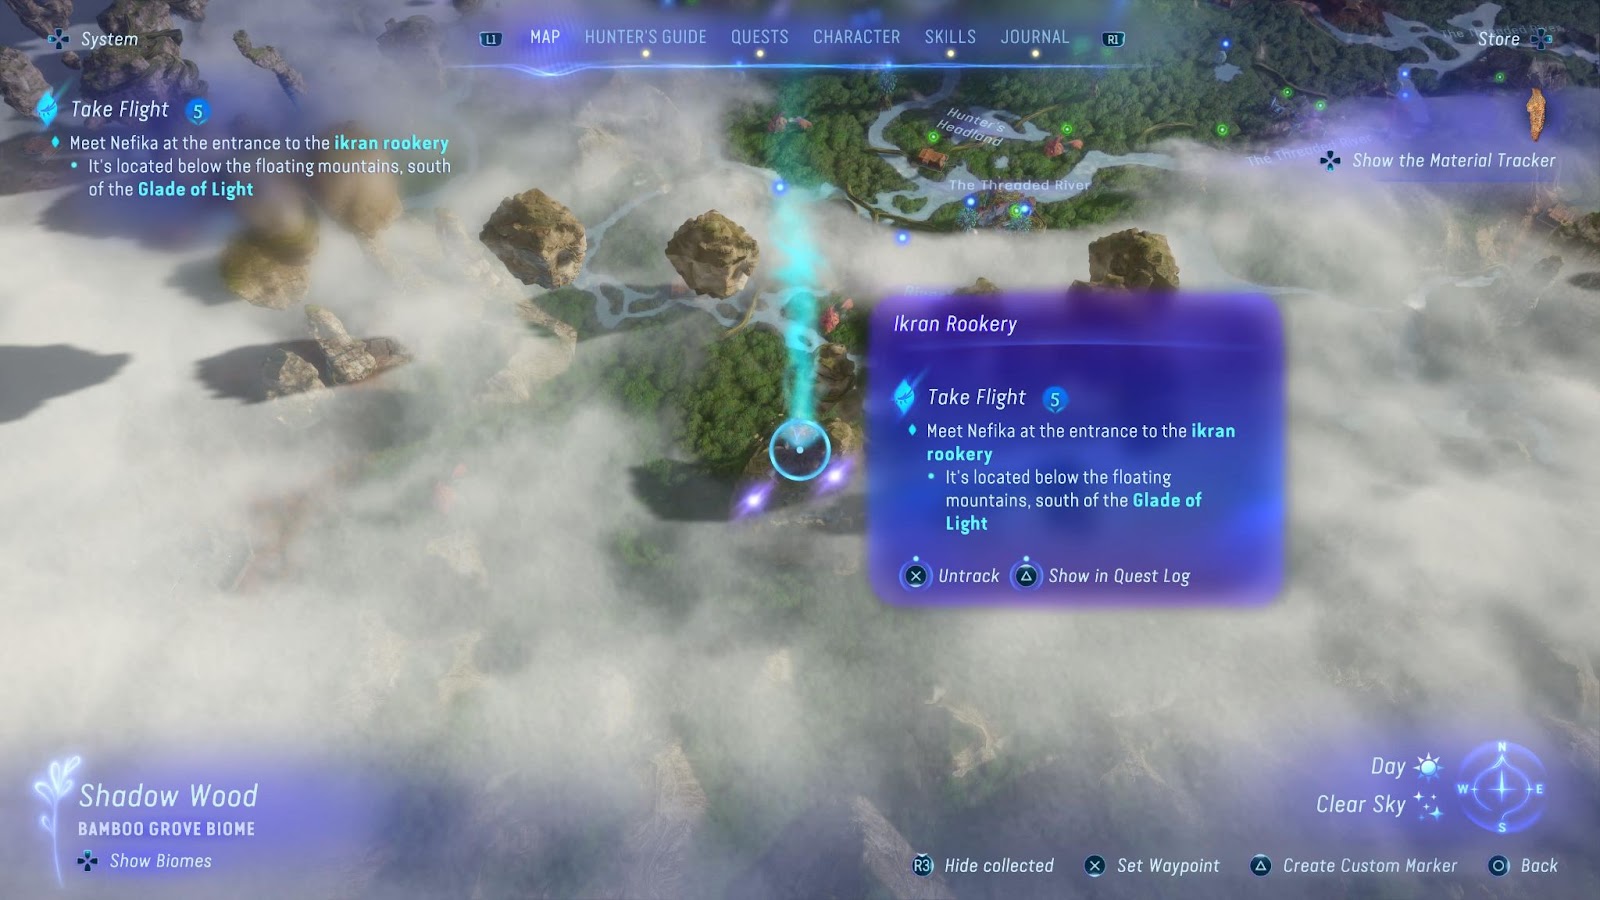
Once you have progressed through enough of the main story mission, the Take Flight mission will automatically begin. Head over to the quest menu, and you will be able to toggle the tracking for the quest on or off.
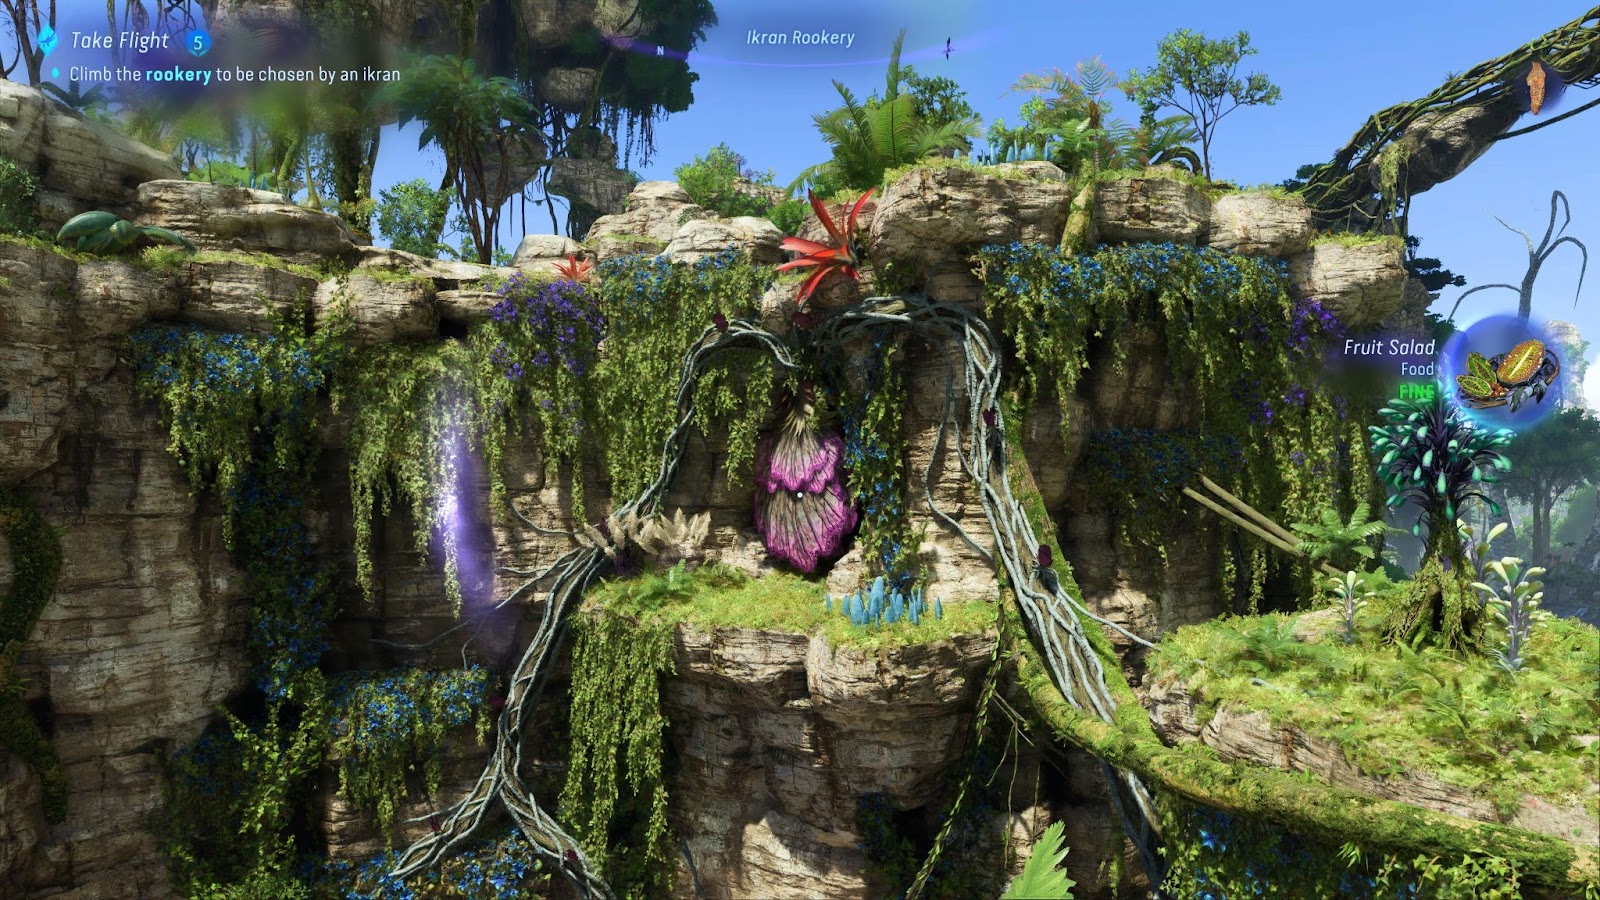
When the quest is activated, you will be directed to the Ikran rookery, where you will have your chance to try and bond with an Ikran. This is where you need to go to begin your quest.
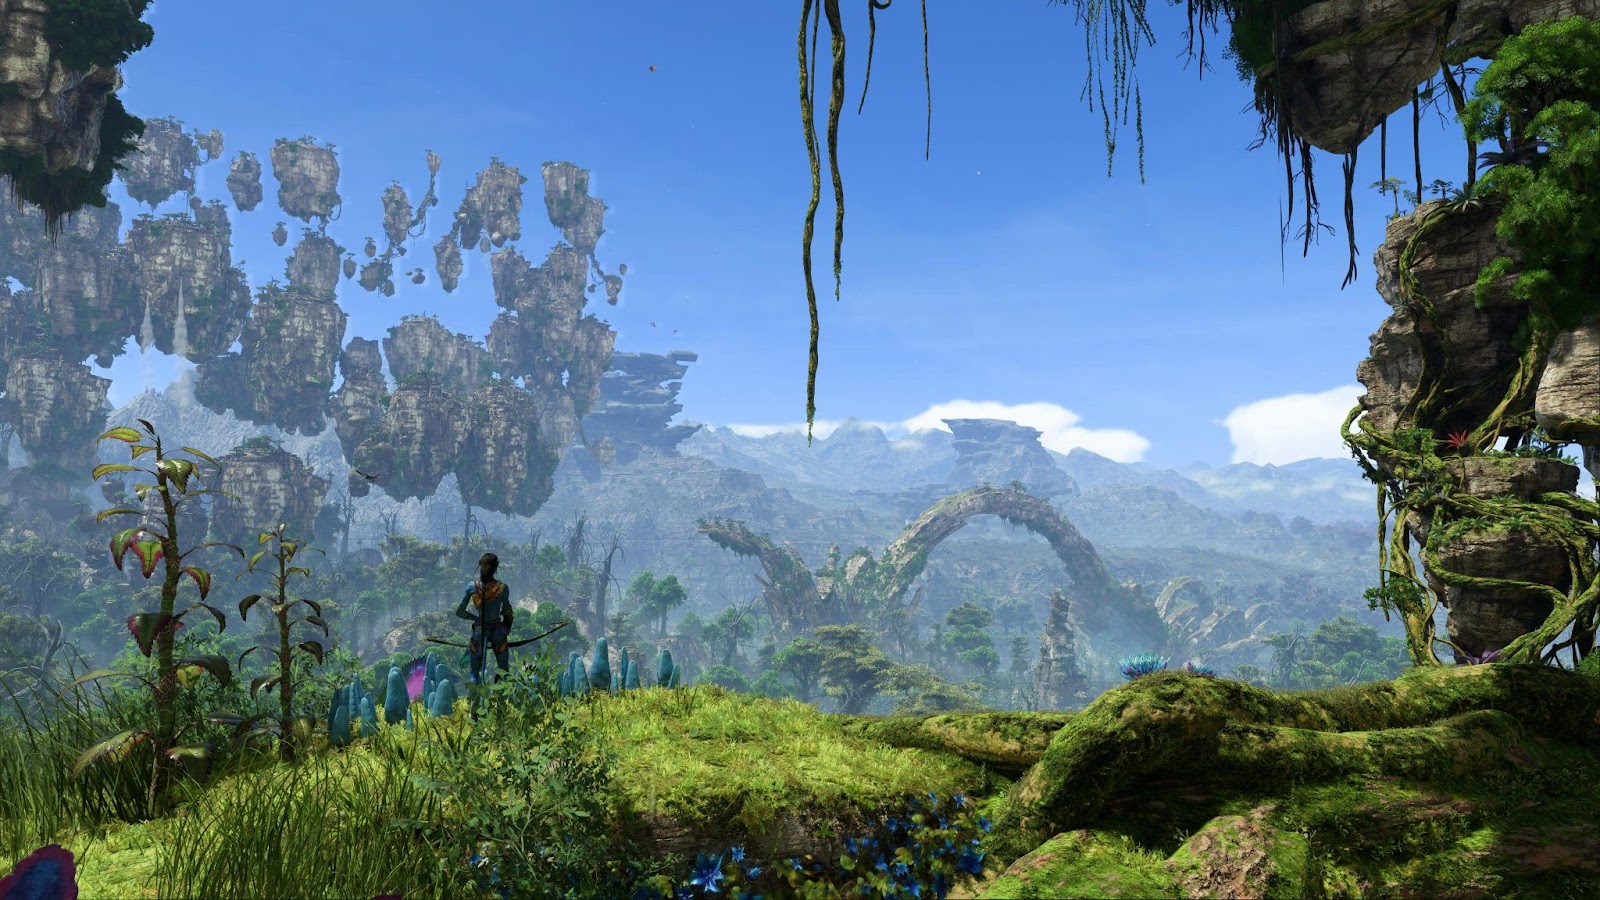
One of the closest places to the rookery that you can fast-travel to is the Gas Harvester Alpha RDA Outpost. You will have already taken the outpost offline in one of the previous main missions, so you will be able to fast-travel there straight away.
From the outpost, follow the light blue marker to make your way to the rookery. When you get there, approach the campfire to pass the time and wait for Nefika and Eetu. Once time has passed, a cutscene will start wherein you will be shown the way into the rookery to begin the challenge.
How to get to the top of the rookery in Avatar: Frontiers of Pandora
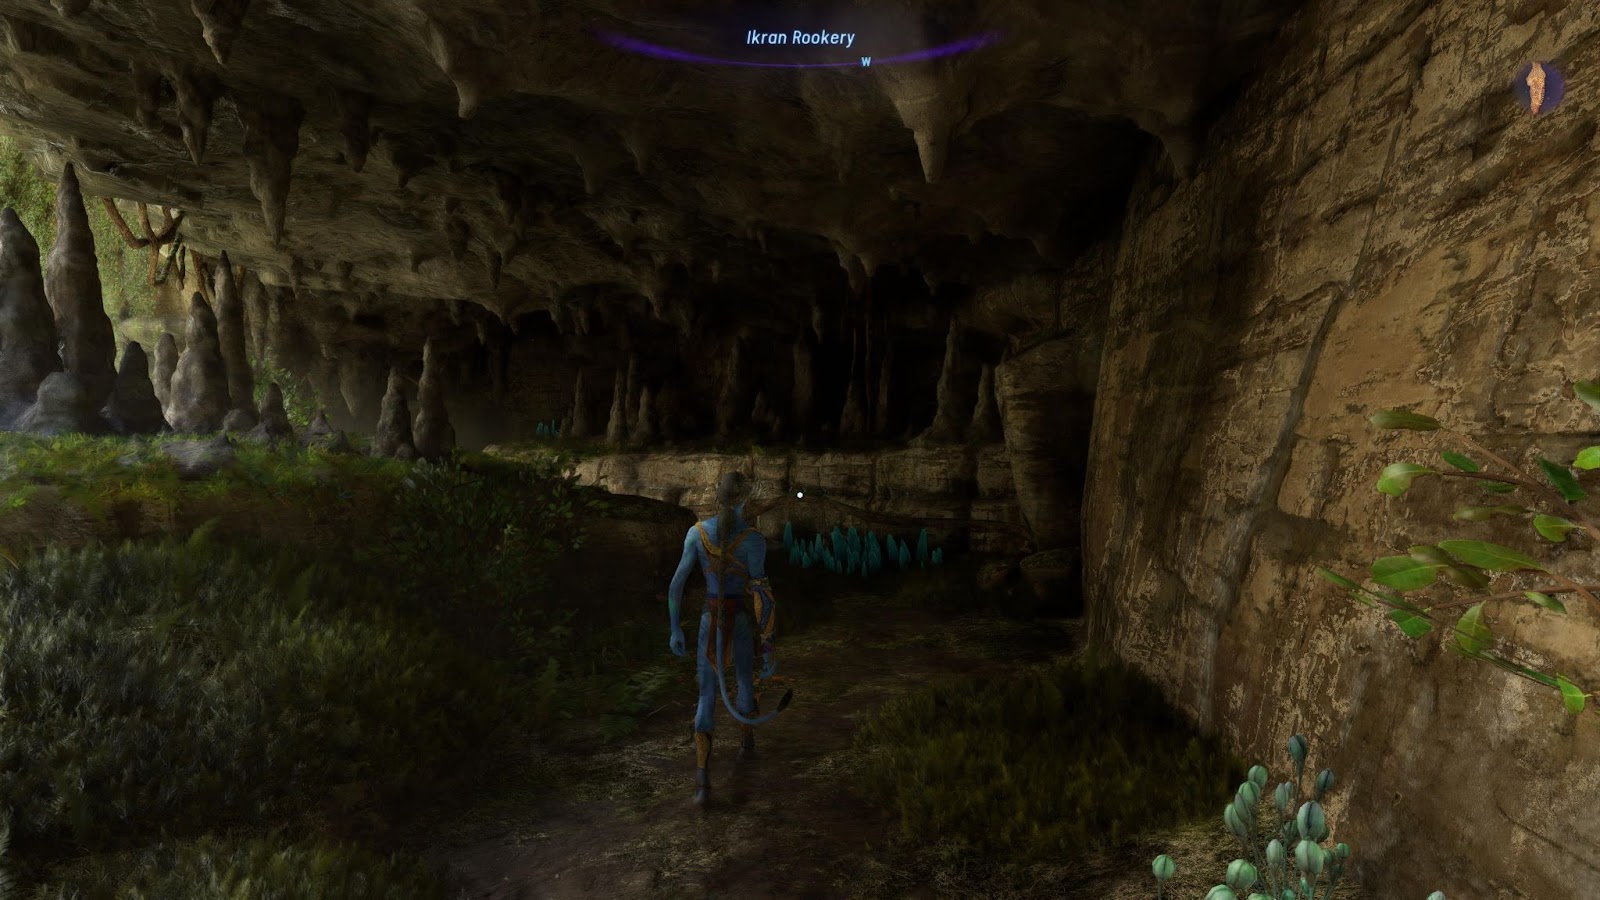
Be prepared to put your platforming hat on, as there is going to be a lot of it in your quest to reach the top of the rookery and bond with an Ikran. Follow the path around when Nefika has guided you into the cave to begin the challenge.
All you need to remember when making your way to the top is that you just need to keep going up. If you get stuck or lost at any point, look for ways upward, and you should be able to find your way. Here are a few key things to look out for on your journey.
Launch yourself on Mermaid Tails
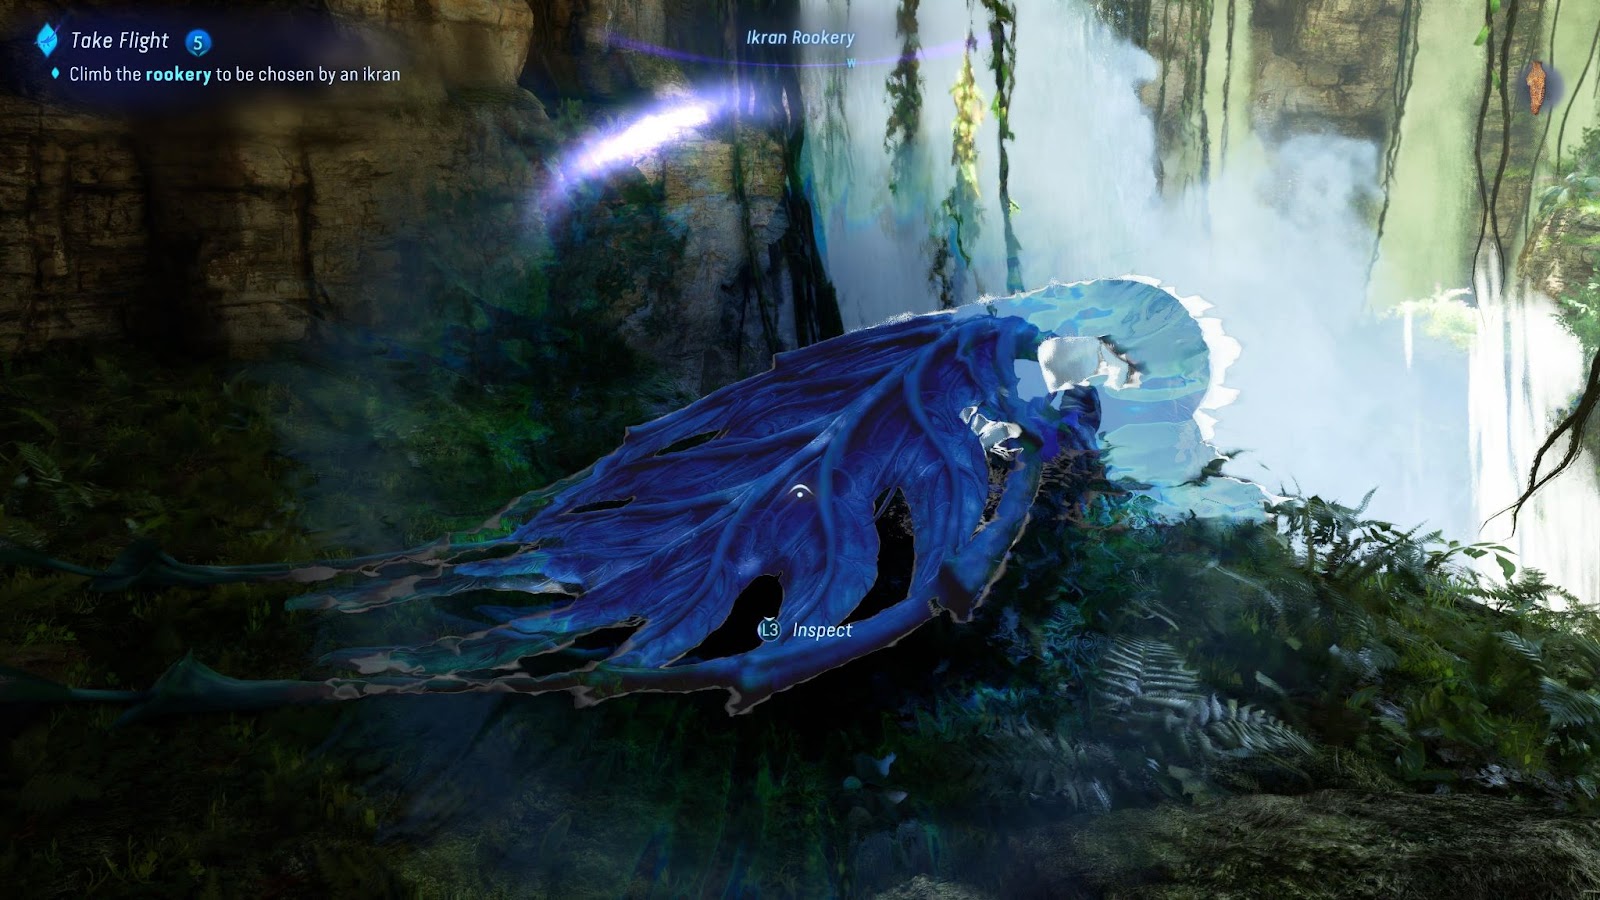
Keep an eye out for blue Mermaid Tail plants as you climb, as these will catapult you further up onto higher platforms. The first Mermaid Tail you will come across will be just through the cave that you first enter to get into the rookery. It will launch you across the waterfall to the other side. Once you are there, keep following the path that goes around the edge of the cliffs to continue your ascent.
Open the Gateway Lilies
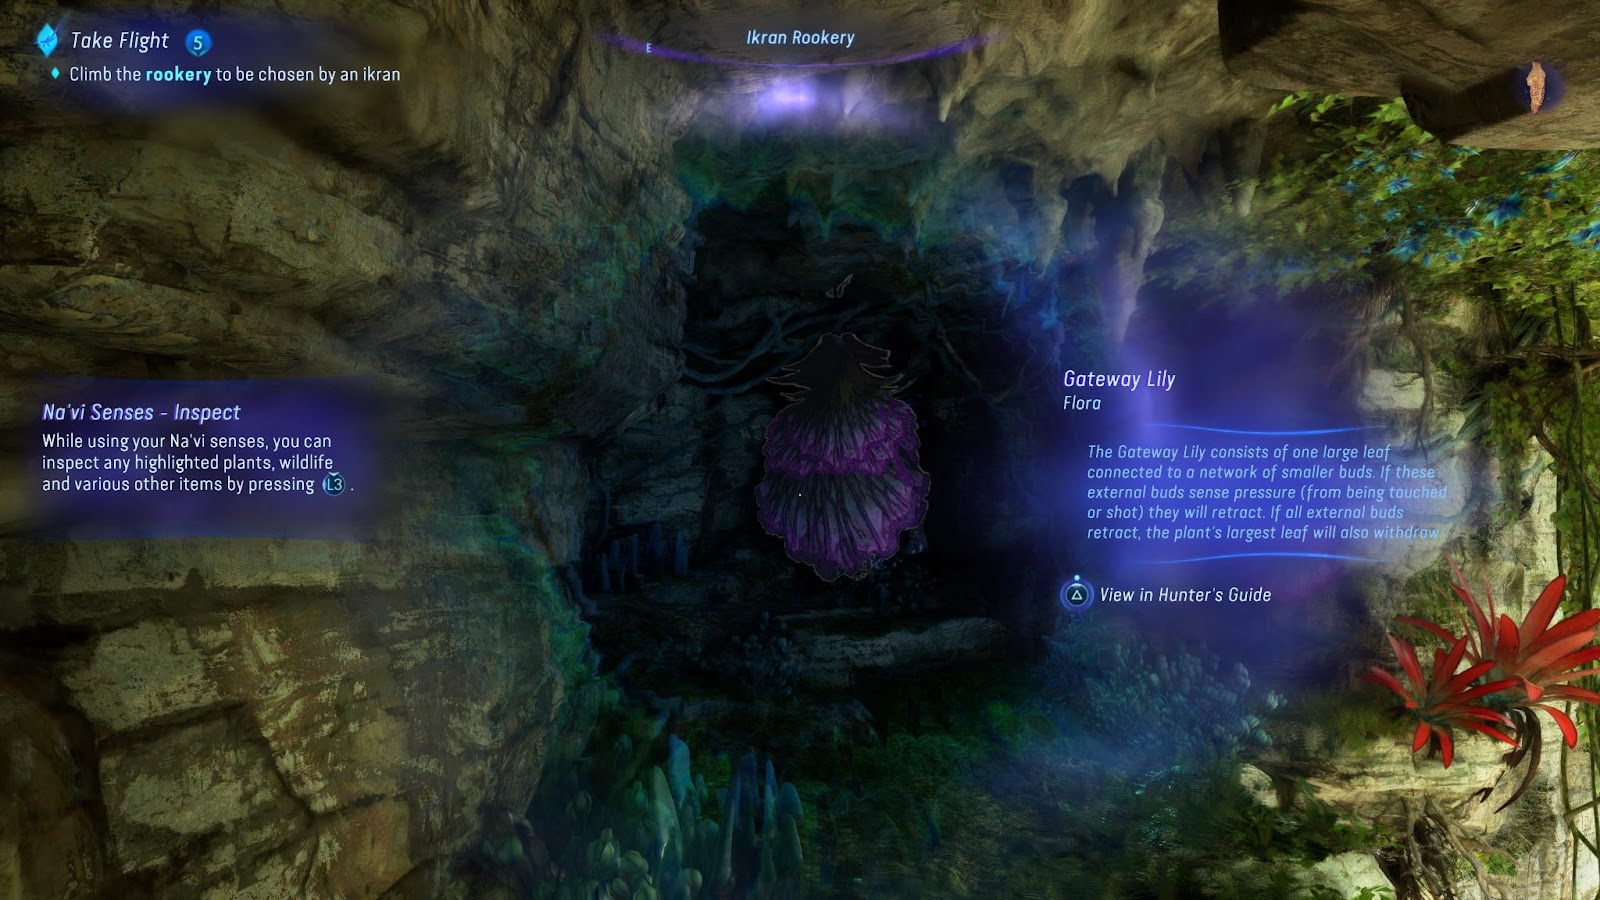
You will eventually get to a Gateway Lily blocking your path. To remove it, you will have to get rid of the smaller lilies in the area. These can be found by following the blue and green roots that emerge from the base of the lily. When you have found the smaller lilies, shoot at them and the lily will open and allow you to pass. You will come across another lily on your way up the rookery, so don’t forget to follow the roots to the smaller lilies and get rid of them.
Shoot Lift Vine pods and look for Eetu
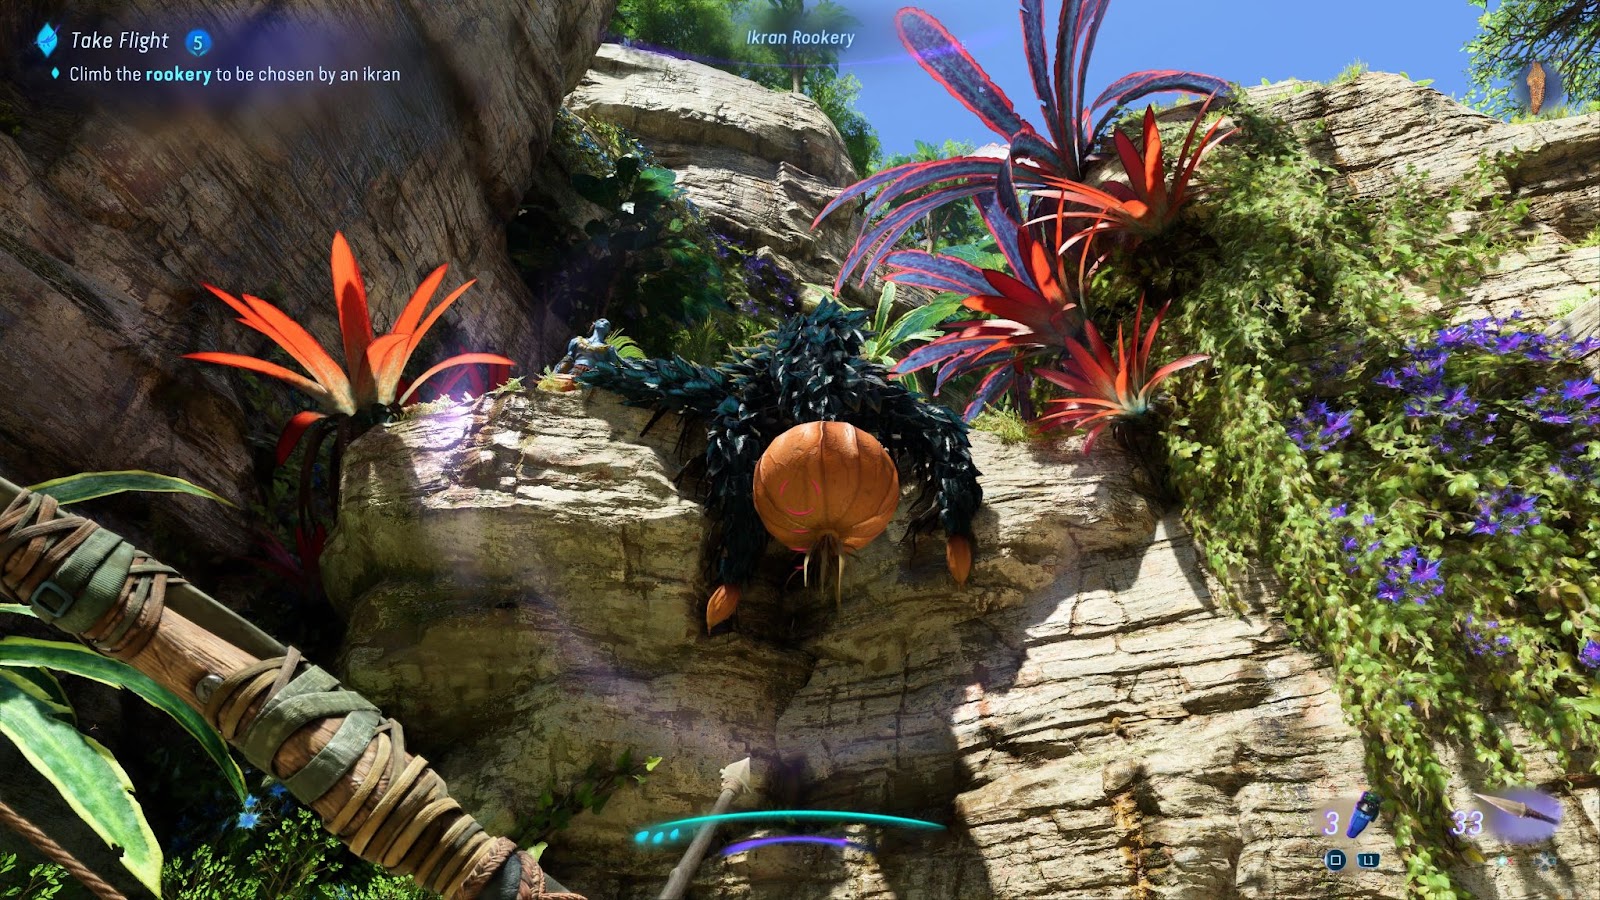
Eetu is a good way to determine your progress, as he will keep appearing as you continue your ascent up the rookery. When you first come across him, he will be standing above you on the cliffside. Shoot the orange pod of the Lift Vine nearby and continue your journey up.
Keep an eye out for the pods, as they will release a vine that you can climb up if you shoot them. You can also use the Lift Vines that have already emerged from the pods to climb up immediately.
Make your first attempt to bond with an Ikran
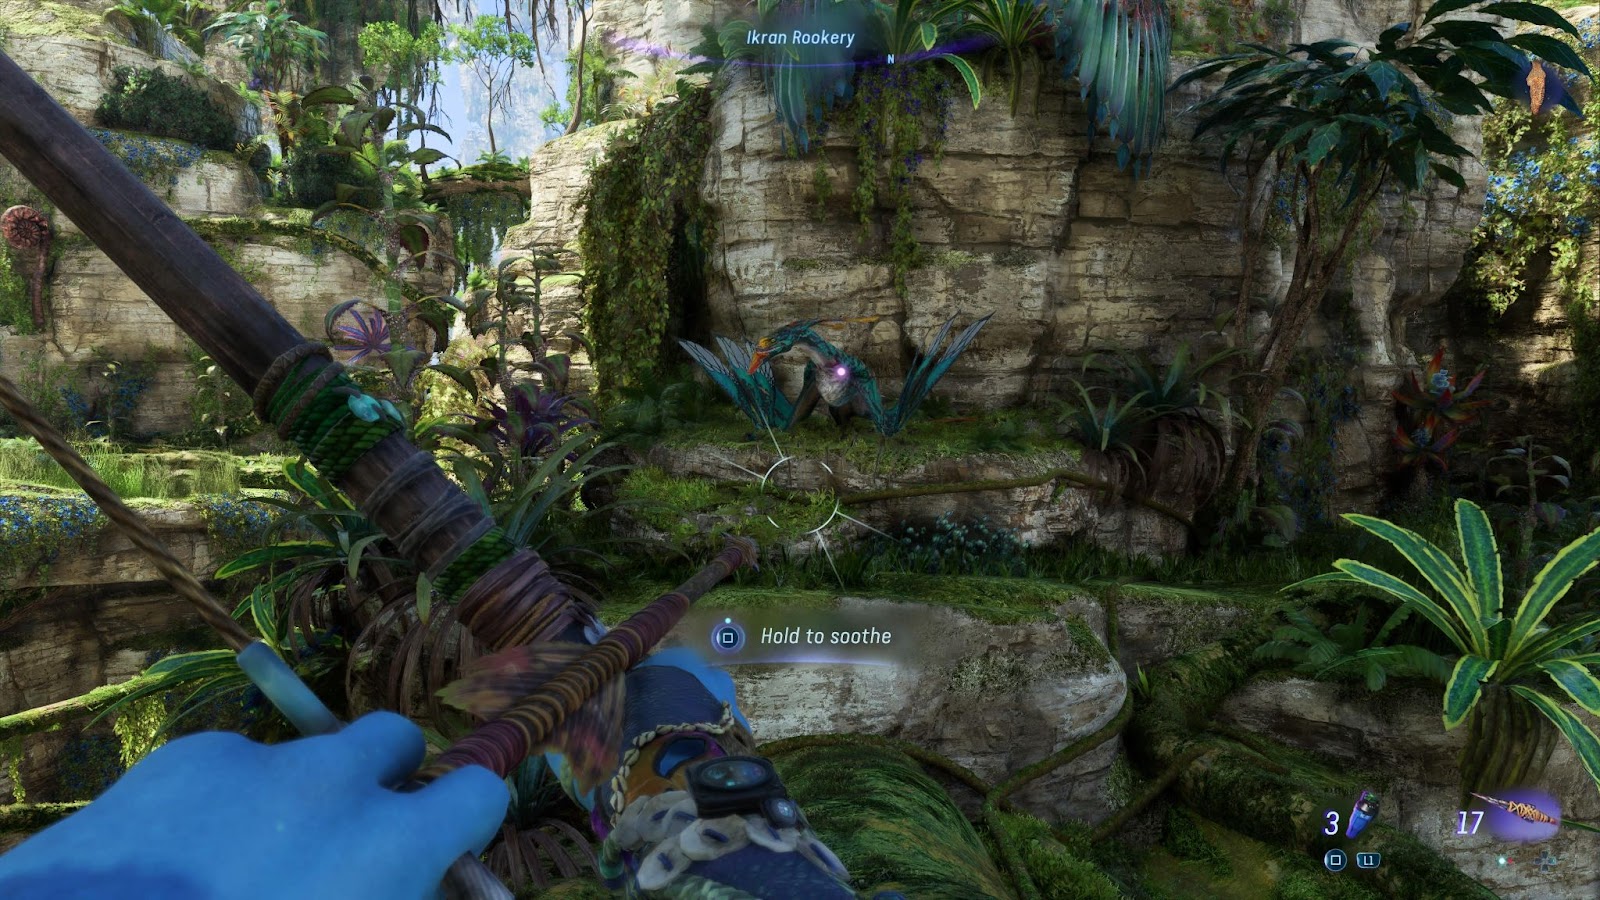
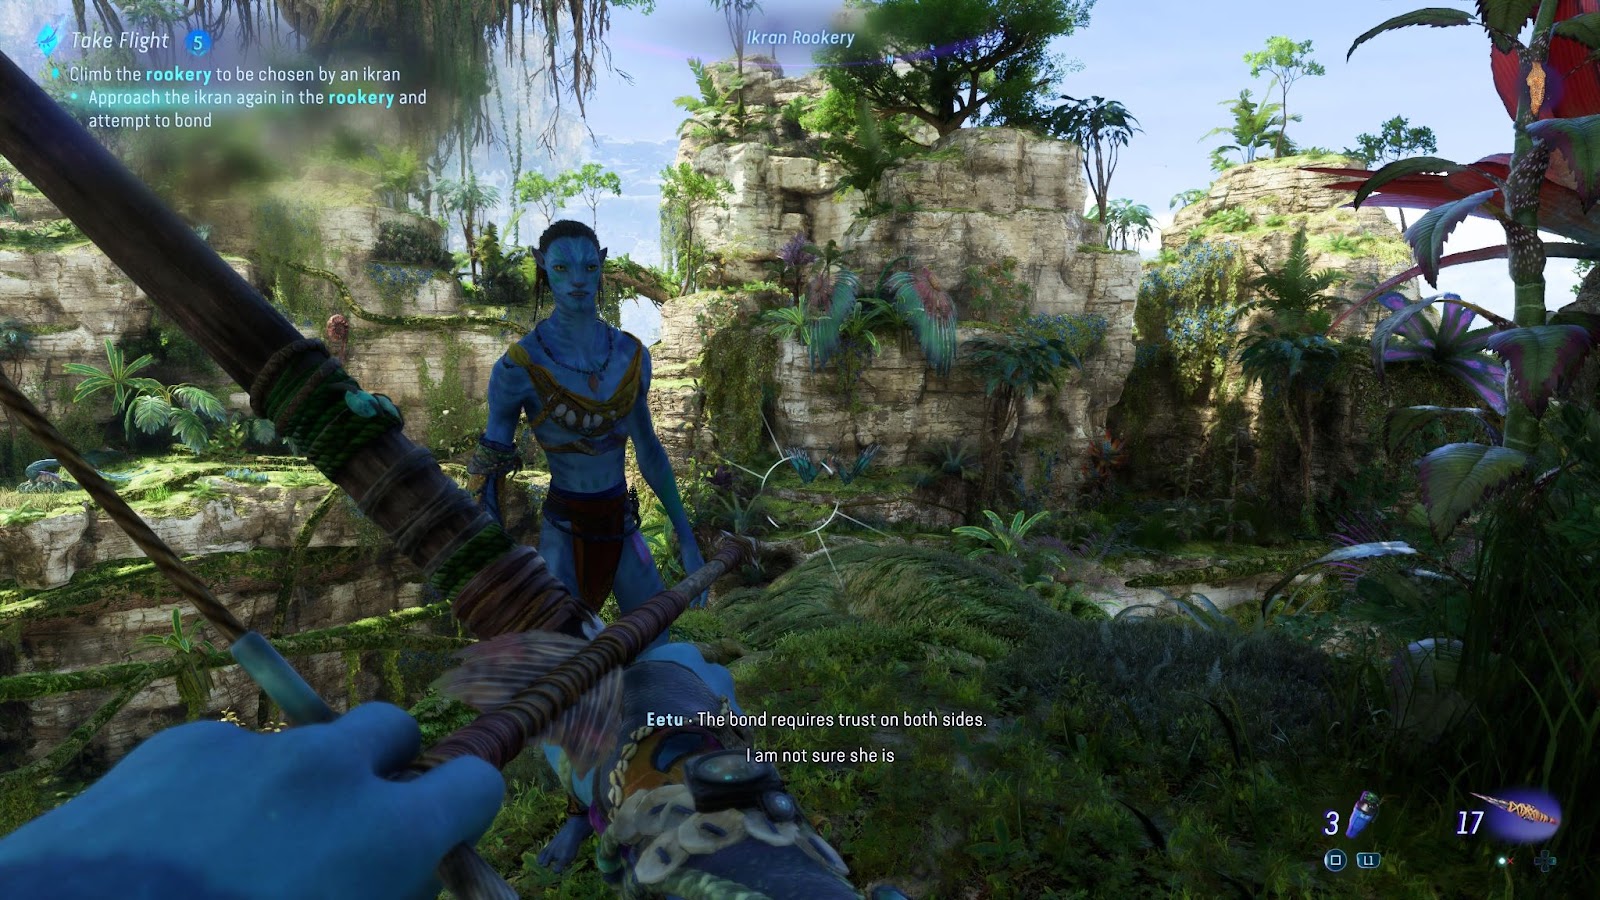
You will soon come to the first chance you get to bond with an Ikran. Hold down the button as prompted on the screen to slowly approach the Ikran. As is expected, this doesn’t go well and the Ikran will fly away. Eetu will reassure you this is the norm for a first try, so you will need to continue on your path to prove to the Ikran that you are worthy.
Keep making your way up the rookery, but be careful as you do so, as you will have to run and jump across the floating rock platforms. It’s really easy to fall (I did an embarrassing amount of times), so don’t forget to use the charged jump ability when you need it.
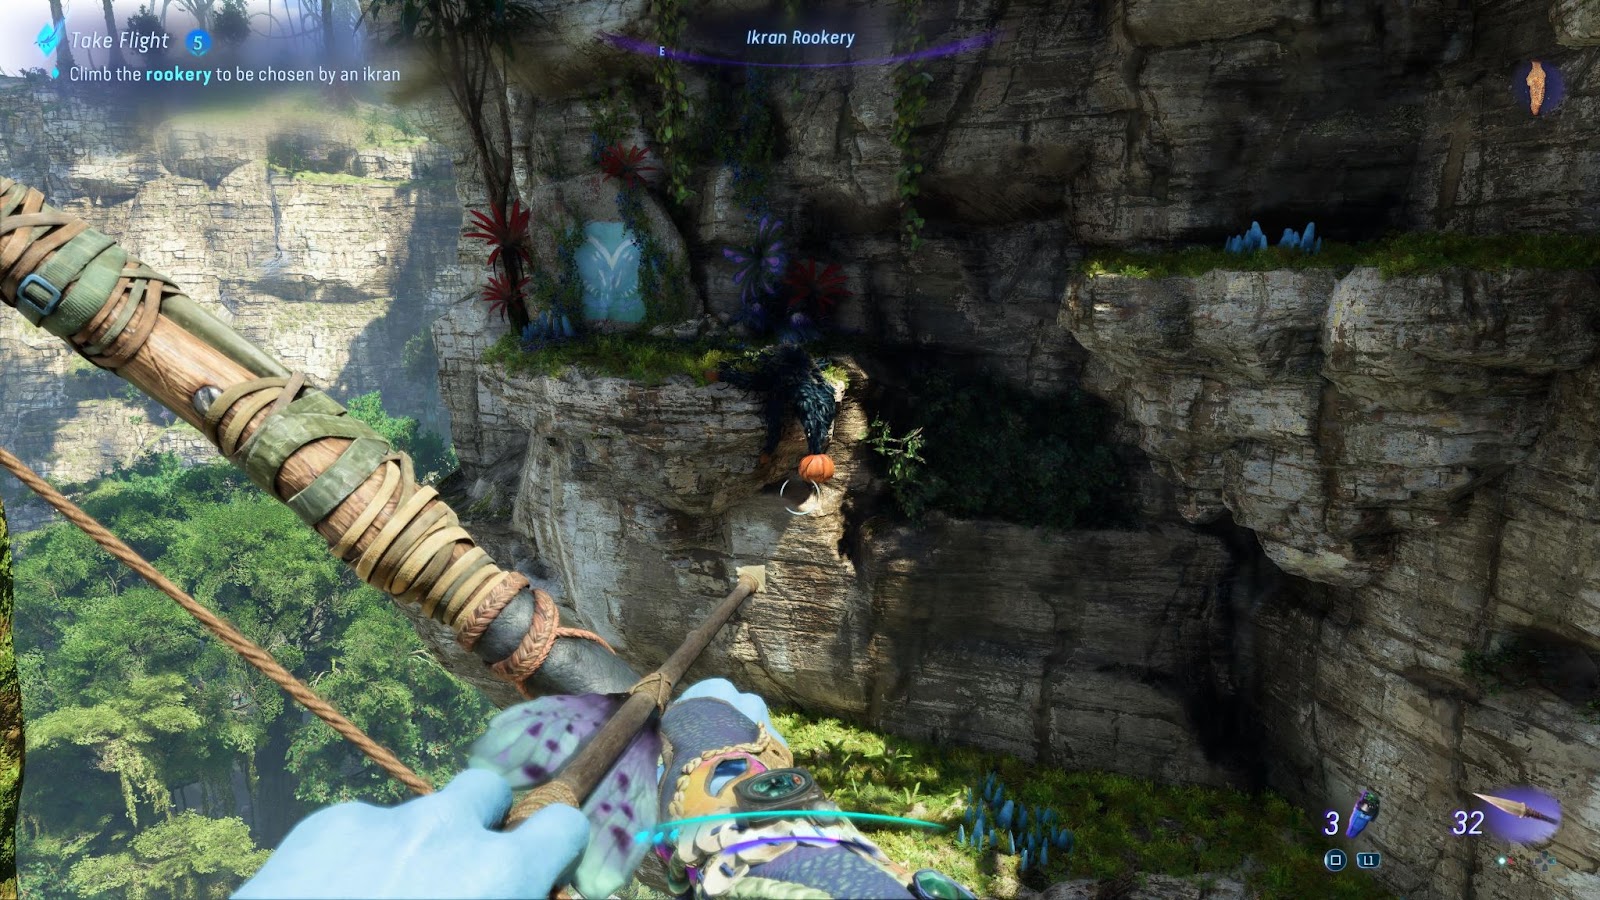
As you go, you’ll come across more Lift Vine pods that need to be shot to create a path upwards, such as the one above. You can also collect the Kinglor Forest Face Paint in this area at the Sarentu Mural (the blue and white painting on the wall). Run and jump with your charged jump ability to get across, but don’t forget to interact with the wall to pick up that face paint. Fun fact: I took this screenshot, but in the short time between taking it and getting to the other side, I forgot to pick up the face paint collectible. Don’t be like me, make sure you grab it.
The path is pretty well laid out as you continue your ascent, but make sure to keep going upwards and look for Lift Vines to help you on your way. You will soon get to another Gateway Lily after you have jumped up the rocks via a group of pink Sunflower Gigantus flowers. Follow my previous advice on following the roots and shooting the smaller lilies to remove the larger lily. There are three smaller lilies to find, but they are all in the immediate area, so don’t worry about having to go on yet another quest just to open the lily to pass through to the next area.
Speak with Eetu again
Make your way through the caves and cliffs, and you will find Eetu again, so you’ll know you are well on your way. You will have another chance to bond with the Ikran by approaching and pressing the button prompt to soothe her here, but it doesn’t work once again, so you’ll need to keep going.
Your climb will continue, and soon you will get to a bridge made up of branches and vines. A cutscene will trigger wherein the Ikran that you are trying to bond with will approach the bridge, only for its muzzle to become wrapped with a vine. The Ikran will fly away in a panic, so keep following the path upwards to get your chance to help and bond with her.
As you go on, you will come to a cave with a steep entrance that you need to slide down into. Go through this cave, and you’ll find a Rib Plant blocking the exit. All you have to do is interact with the plant to touch it and open up the way forward. Leave the cave and make your way towards another Lift Vine, which you need to take to the top of the rocks.
When you spot Eetu again, you’ll know you are in the right place. Follow him, and he will lead you the rest of the way to the top of the rookery.
Bond with the Ikran
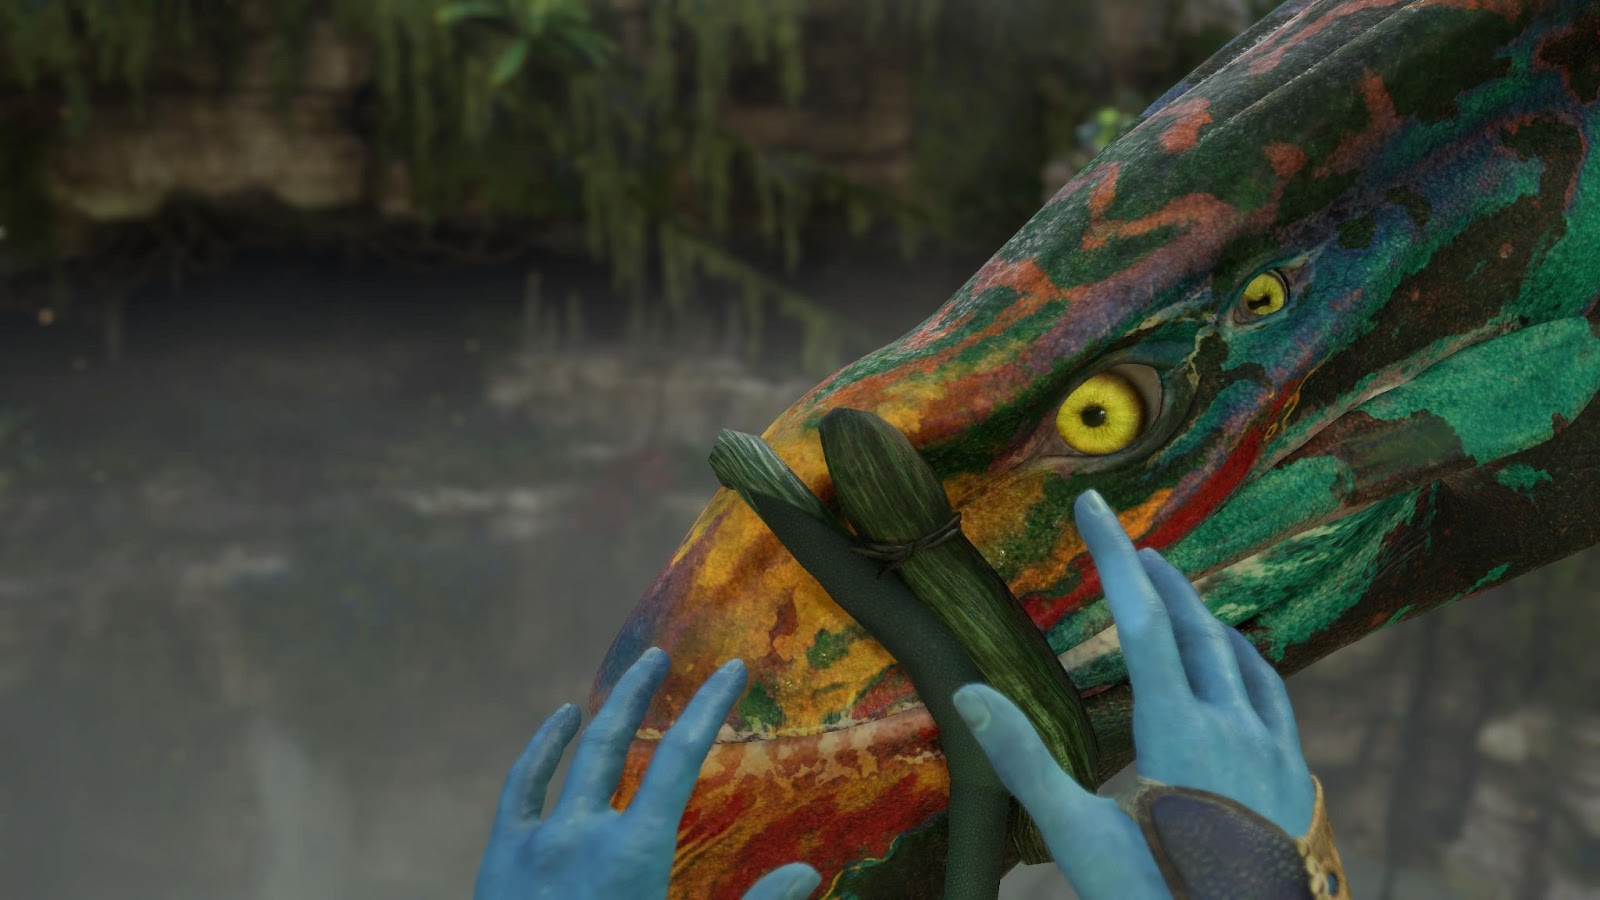
There will be several Ikran at the top of the rookery, but your chosen one is on the left. She still has the vine wrapped around her snout, so continue to try and soothe her as you walk towards her. When you are close enough, you will be able to remove the vine, and she will form a bond with you.
How to customize your Ikran in Avatar: Frontiers of Pandora
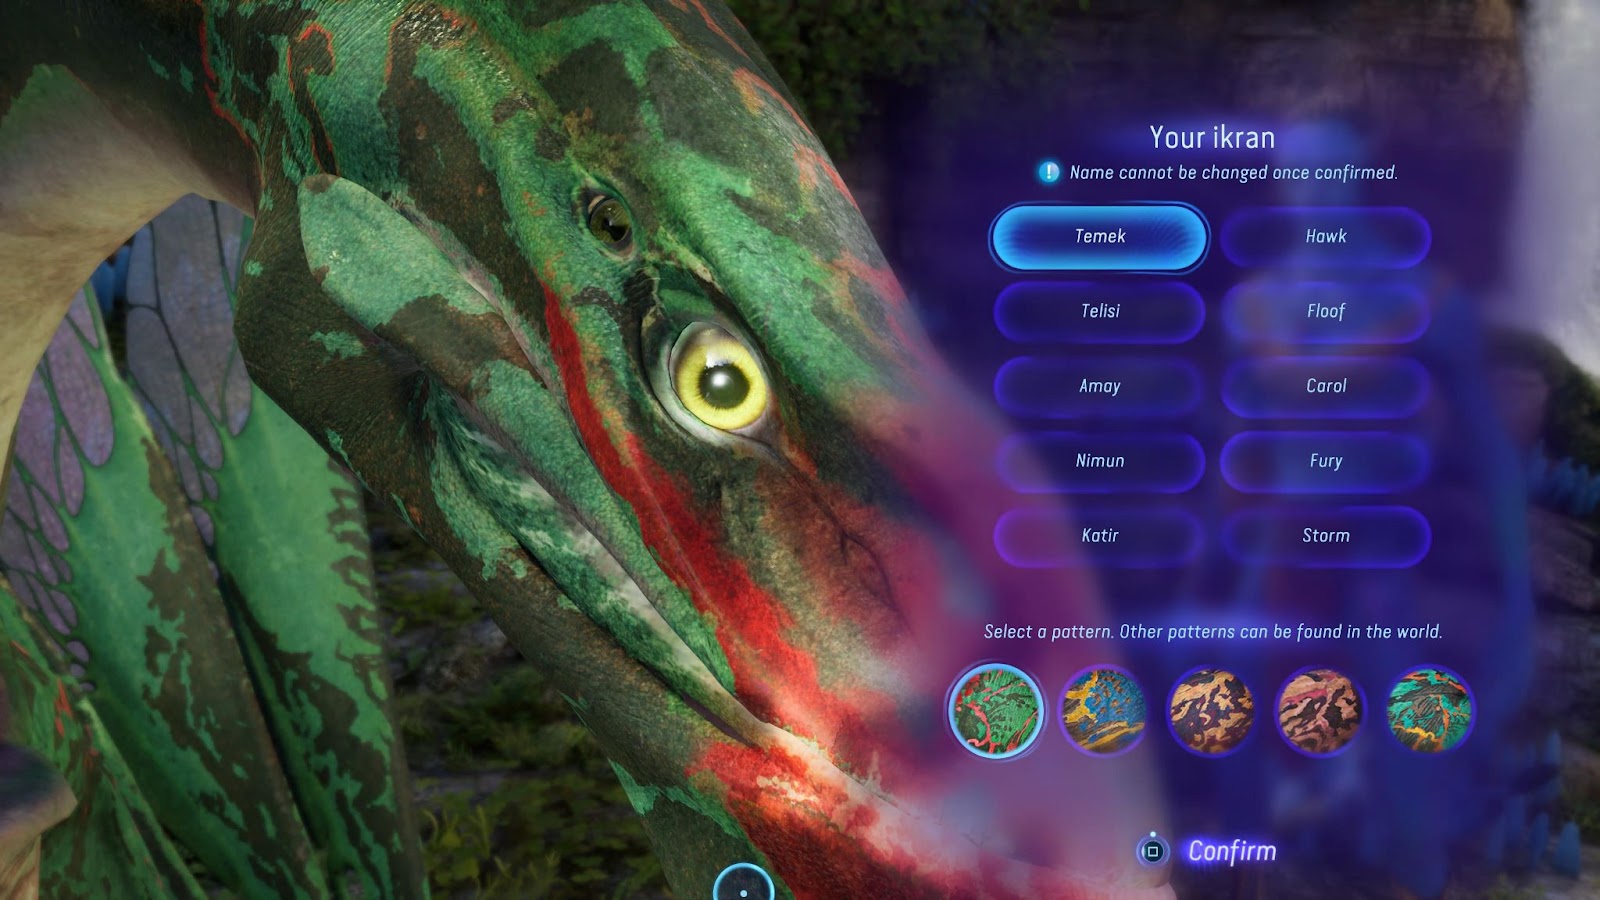
Now that you have your very own Ikran bestie, you’ll be able to choose their name and their pattern. The pattern can be changed when you find others during your time with the game, but the name can’t be changed, so choose wisely.
There are 10 names that you can choose from. Your character will call the Ikran by her name as you play, so keep that in mind when you are making your decision. I went with Floof and I have zero regrets. Floof is the best girl.
How to call your Ikran to your location in Avatar: Frontiers of Pandora
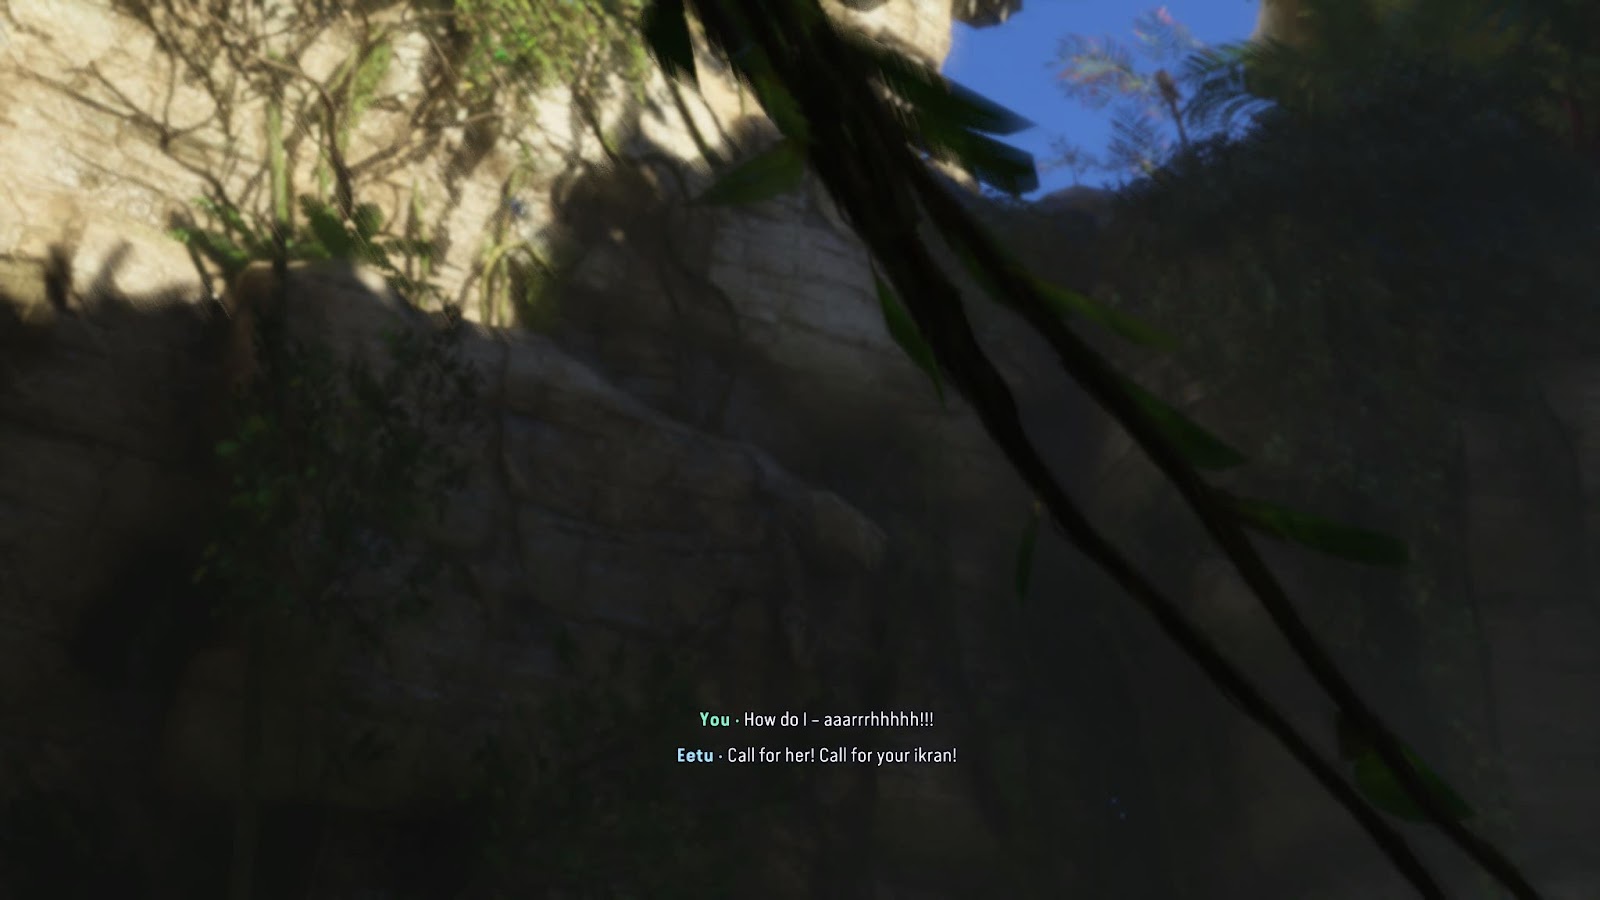
Eetu will then provide the final test of the bond between you and your Ikran. That test just so happens to involve him shoving you off and cliff, so you’ll need to call the Ikran to save you before you fall to your untimely death. A button prompt will appear on the screen to do so, but keep your wits about you, as the sudden plummeting might make you hesitate for a moment or two.
Taking your first flight with your Ikran
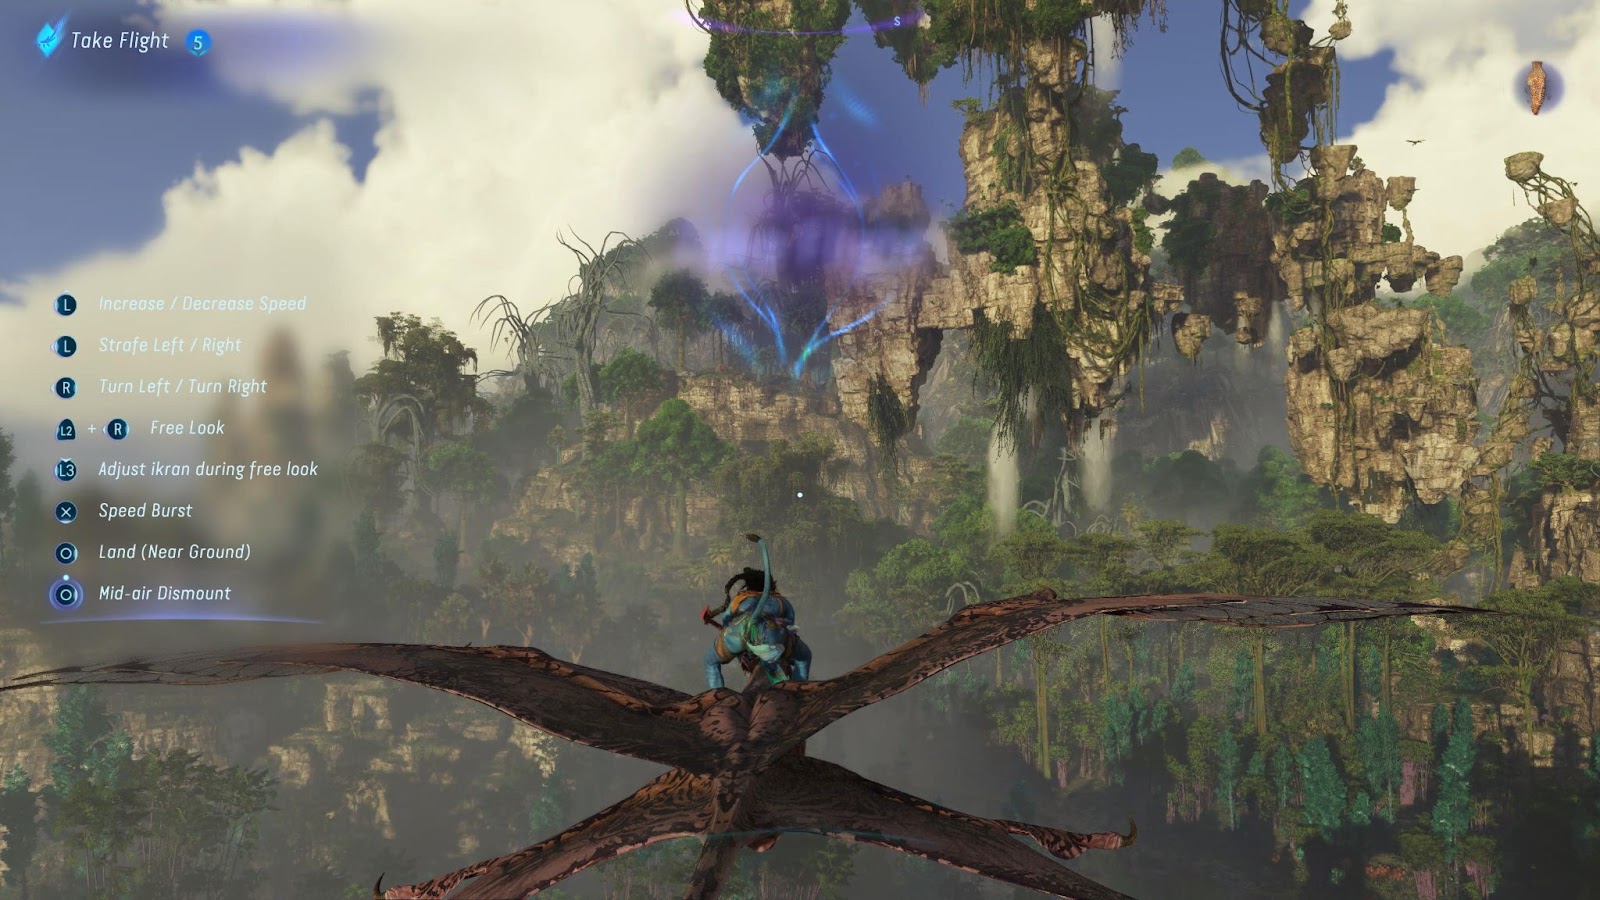
Once you are in the air with your Ikran, you will be able to bring up the control scheme for flying. You’ll have the chance to test out the speed burst and the diving, though you will have to handle the landing when the time comes. When you have completed your mini-flight training session with your Ikran, you will have successfully completed the Take Flight mission.
So there is everything that you need to know about completing the Take Flight mission in Avatar: Frontiers of Pandora. As I mentioned earlier, this is a quest you will want to do as soon as possible to get access to the Ikran companion.
Flying makes things so much easier, as the western frontiers of Pandora are rather large, and it can be frustrating getting from place to place when you haven’t unlocked fast travel to certain areas yet. Save the side quests for after you have completed Take Flight so that your Ikran buddy can help you navigate the world as soon as possible.
