
Building a Torino
Growing up a Mopar guy, I wasn’t a fan of Fords. Over the years, I’ve become accepting of all manufacturers. With an open mind, I knew I needed more Fords. While selecting kits from a hobby shop closing, I decided to add it to my collection.
While building it, I discovered that this was originally one of Revell’s Pro Modeler kits. The extra details, the overall fit and photo etch parts made this a great kit to build.
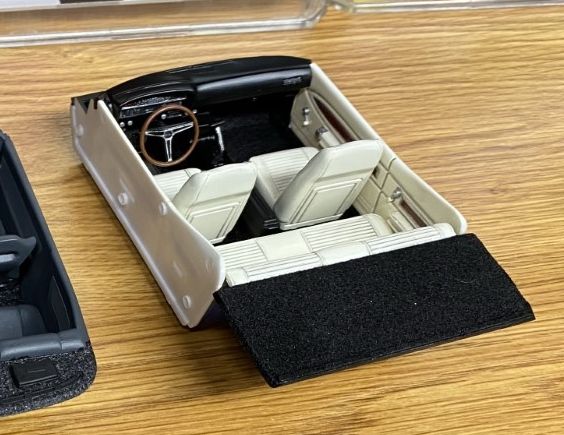
Interior
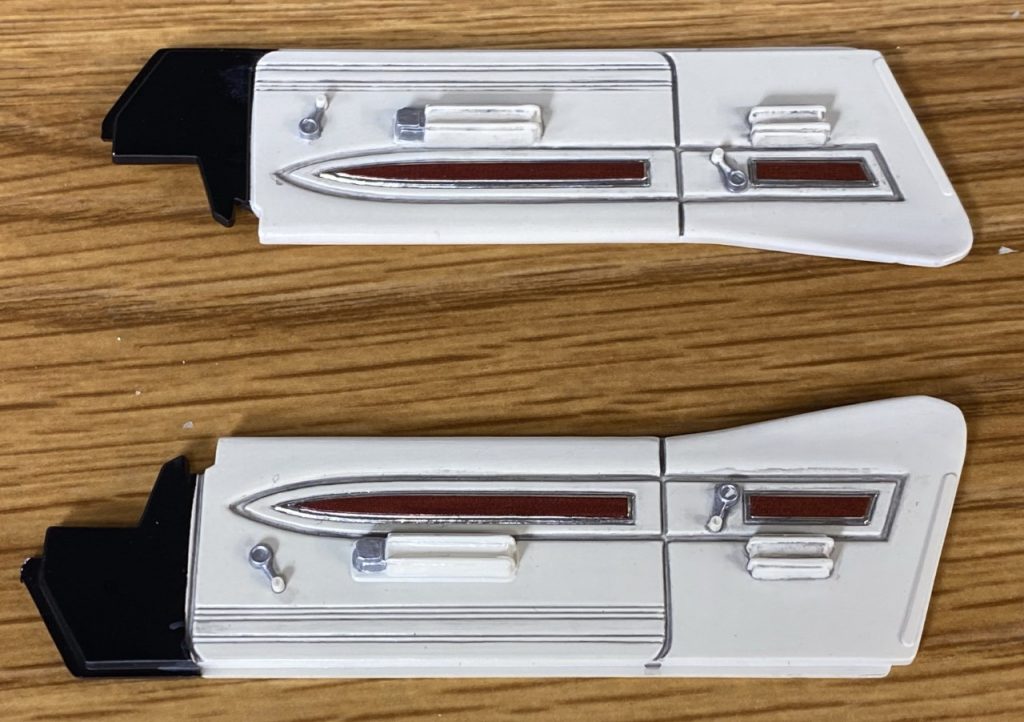
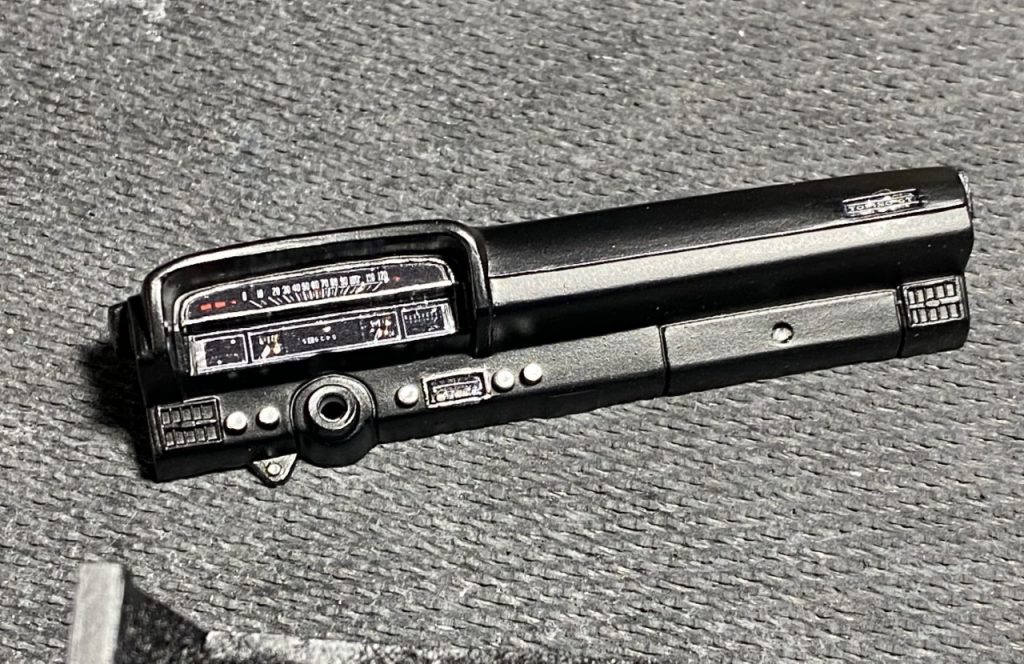
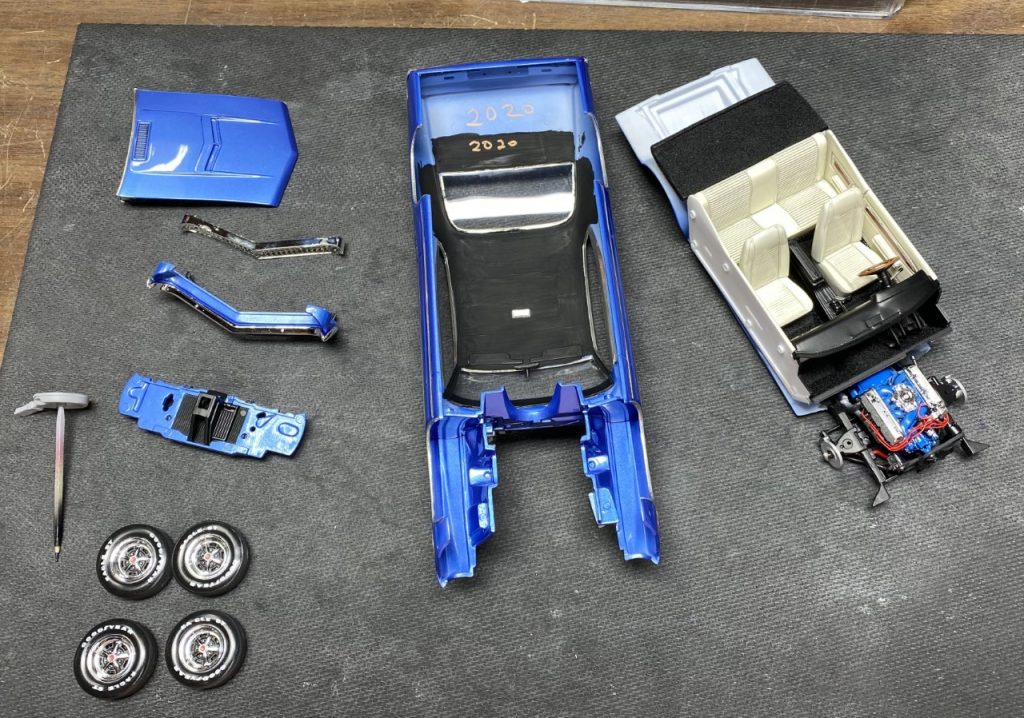
The kit’s interior has separate door cards making detailing significantly easier. Decals were included for the wood inserts and the gauges. I painted the interior Tamiya Racing white to give it more of a cream color. The flocking, dash and accents were painted satin black to give the interior contrast. Detailing was done with a mix of bare metal foil, Molotow chrome and Tamiya dark gray wash. Overall, it built into a really nice interior.
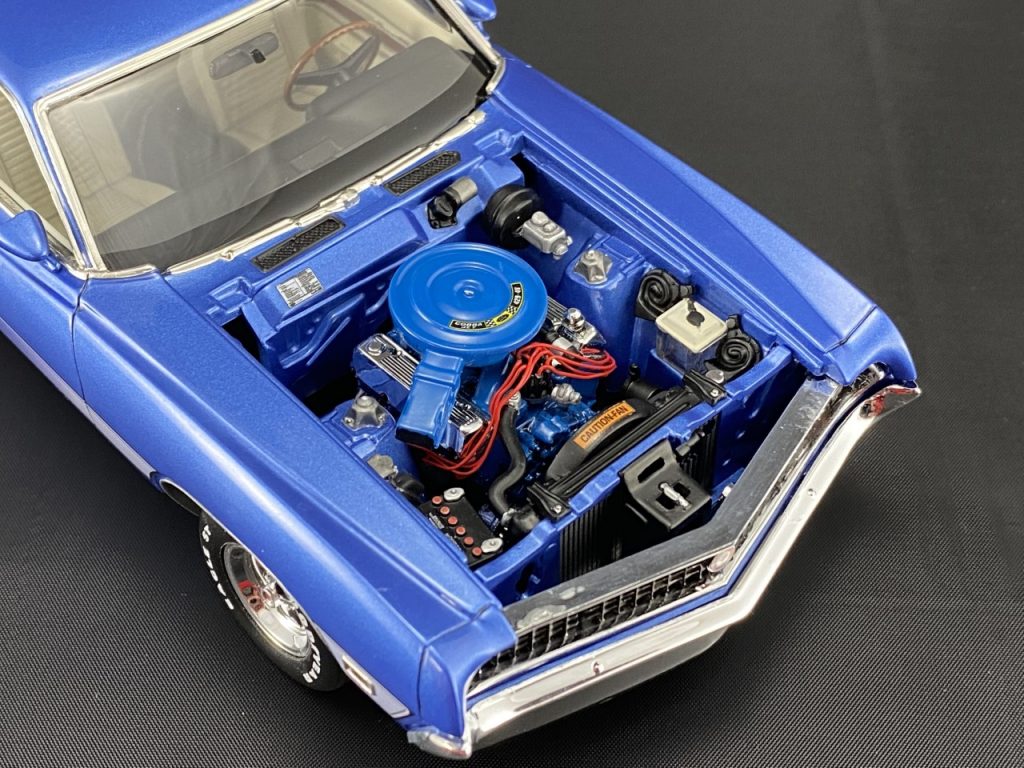
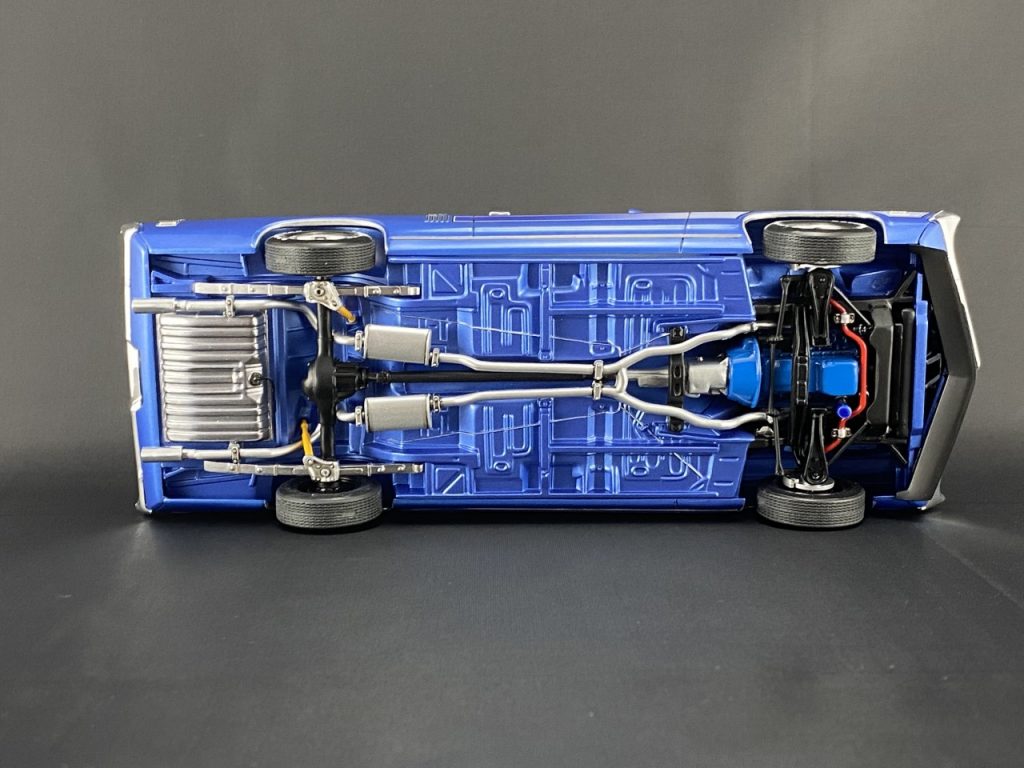
Engine and Chassis
As with every other part of the kit, then engine is well detailed and looks great fully built. It is painted with Ford engine blue and wired. The oil filter decal is a great addition to the kit.
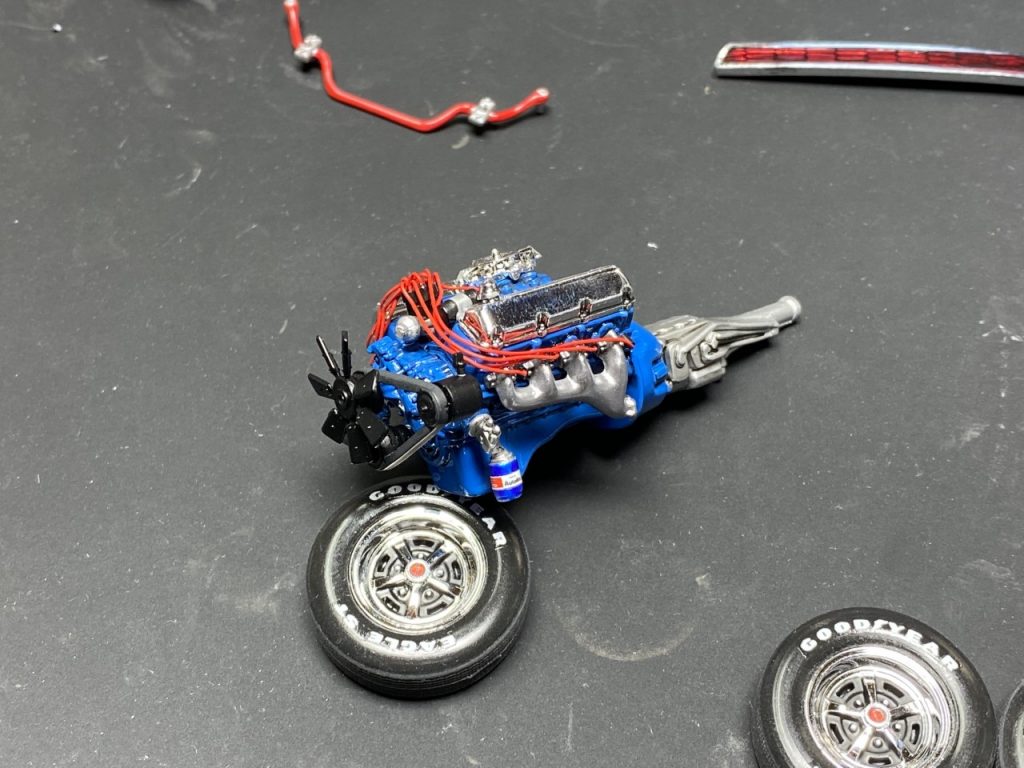
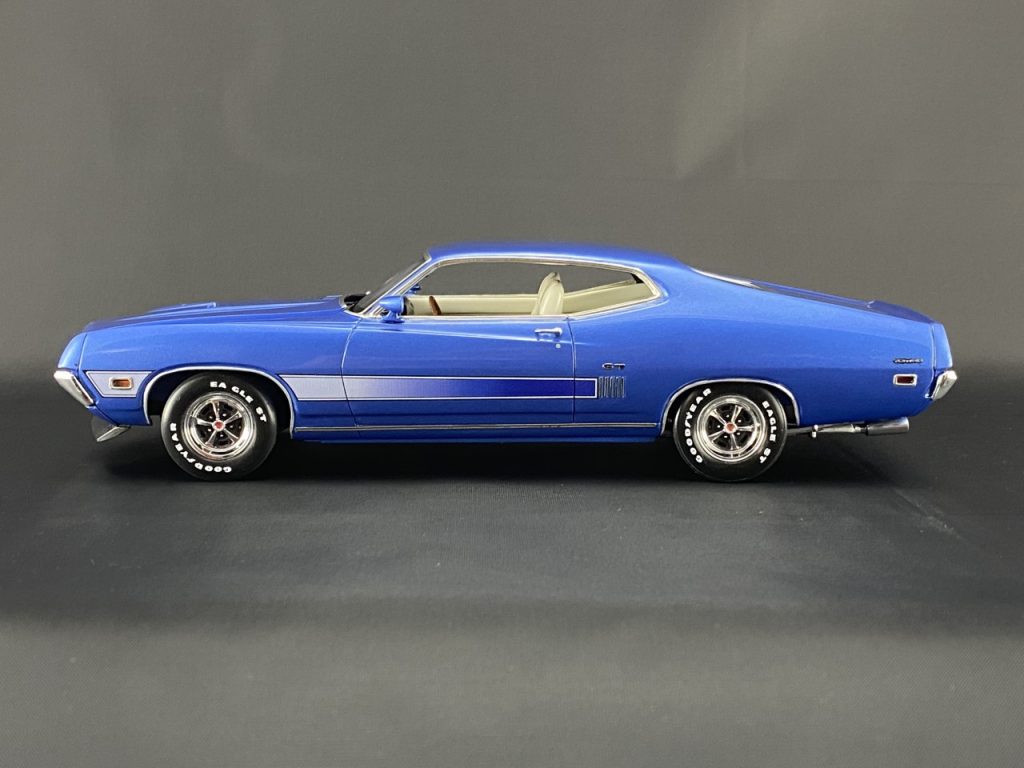
The chassis is painted body color and detailed with various colors. The wheels were hand painted. Fireball modelling white wall decals were used to dress up the plain sidewalls. Tamiya semigloss was sprayed on the sidewalls to protect the decals and unify the sheen. Lastly, the treads were sanded for added realism.

Once all of the chassis components were finished, they were all attached.

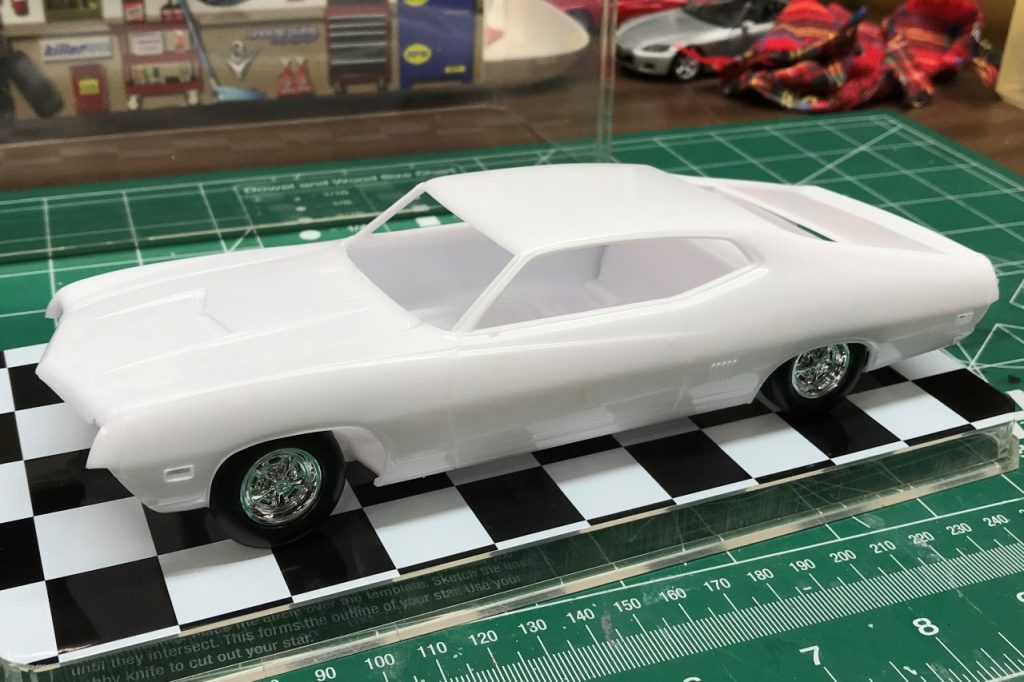
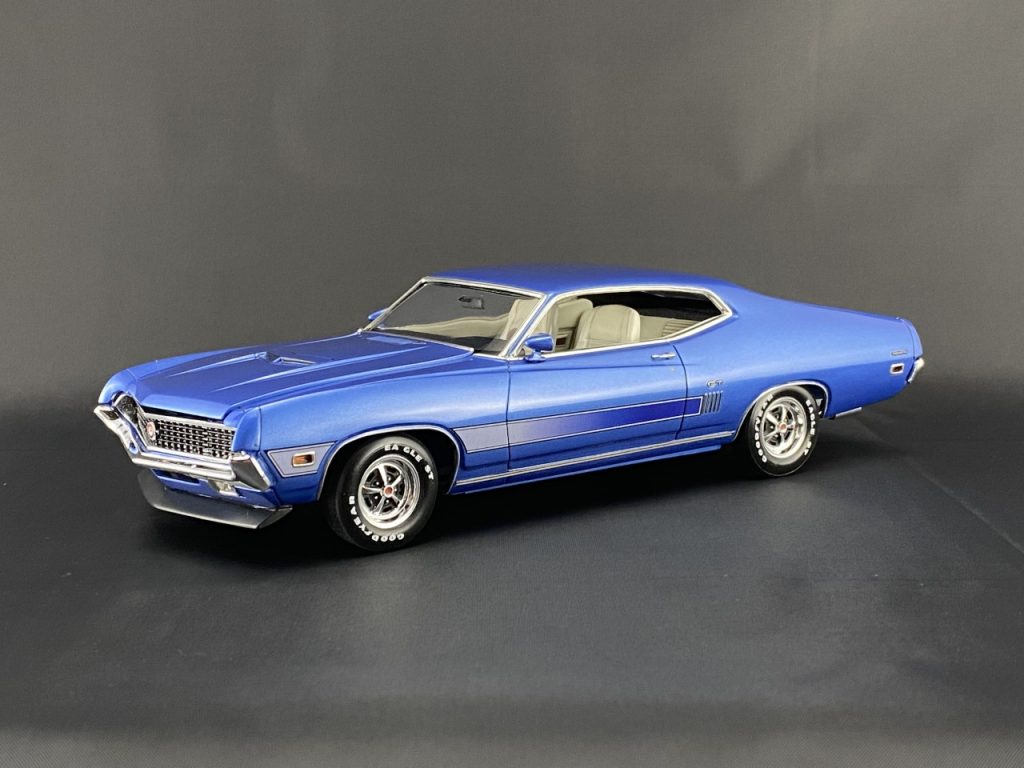
Body
The Torino’s body continues with the high level of detail found throughout the kit. While reviewing the instructions, I learned which parts could be attached before paint to help simplify that process. The rear valence and firewall were attached and the rest of the parts were prepped for paint.
At one point, I had considered using a set of 2011 Mustang wheels and then 2006 Mustang wheels. Later, I decided that the original wheels would look the best for my factory build!
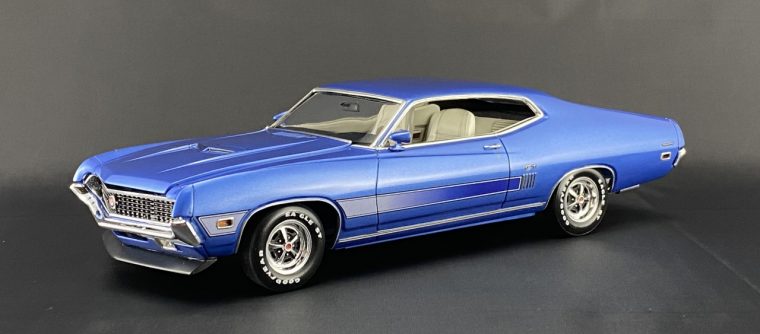
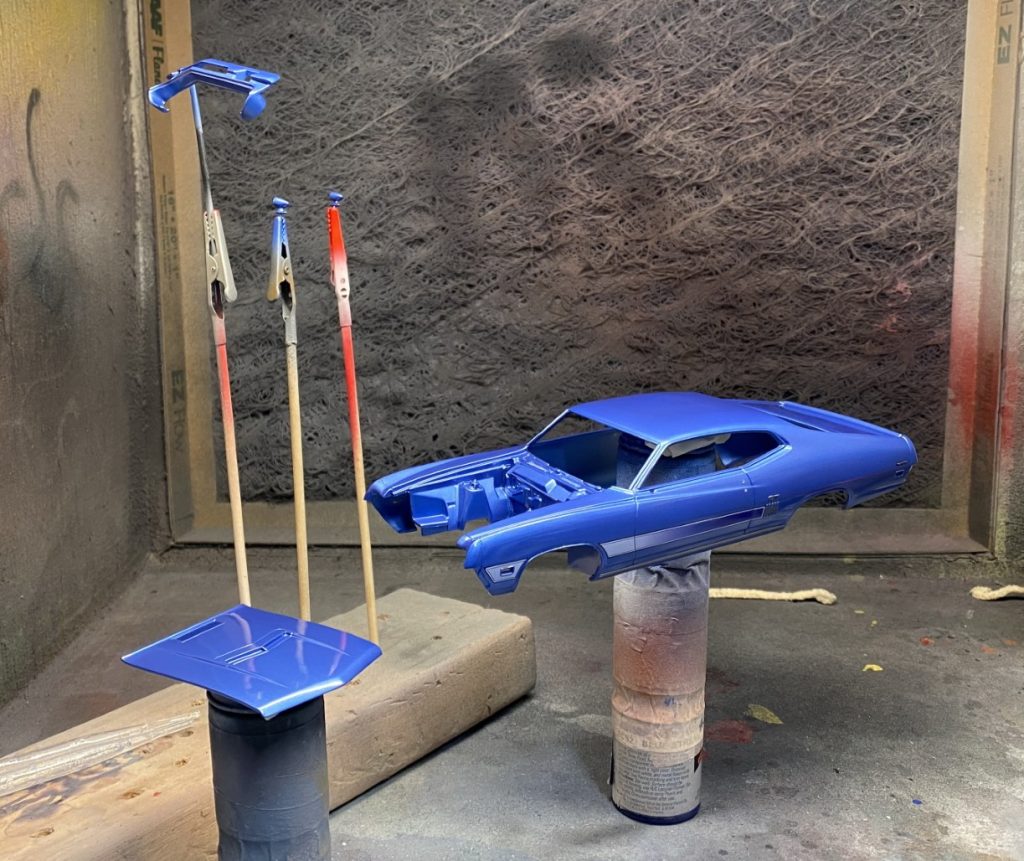
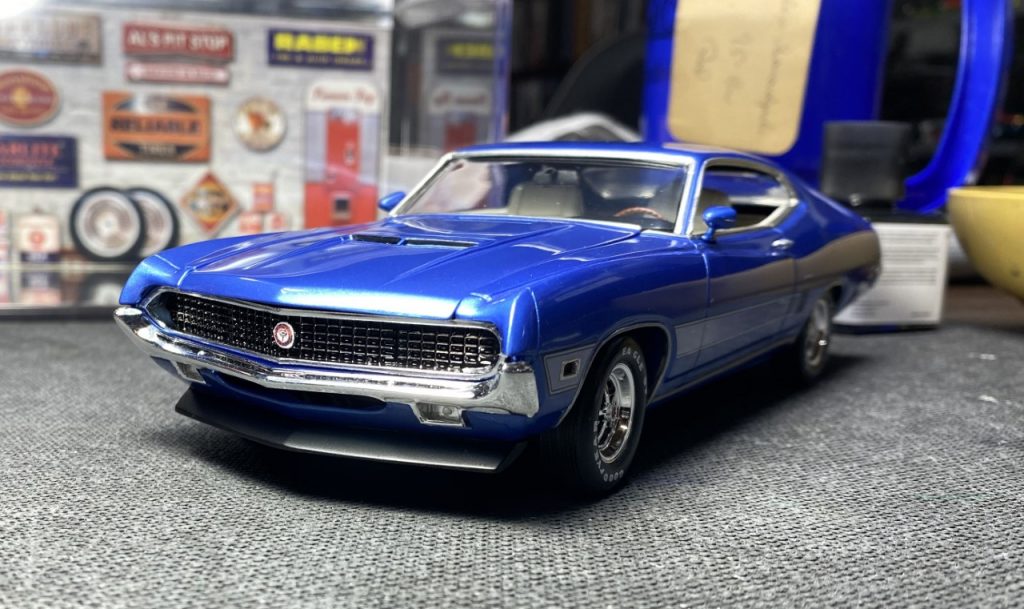
After scribing all of the panel lines and cleaning up the mold lines, I was able to get the body and parts primed then painted. I used Gravity Colors Ford Acapulco Blue.

Before clear-coat, I applied all of the decals and photoetch parts. The photo etch parts were an excellent addition to the kit. Shortly after, I sprayed the body with 2 part clear coat.
Once I finished sanding and polishing the body, I used bare metal foil for most of the trim. To simplify the wheel opening trim, I used Molotow chrome from a 4mm pen to make quick work of a tricky part to foil. I let the paint cure for several days before handling. The chrome paint is much more durable than the foil making it perfect for the wheel openings.
Final Assembly
After completing the body, it was time to start pulling everything together. The interior and chassis were already complete. Joining the body to the interior and chassis was a treat! The parts fell together and lined up perfectly.

As has been my habit for years, I made sure to add the year of completion to the inside of the body.
The kit’s stance was a bit high in the front, I cut the front pins and reattached them to lower the front. The change was subtle but nicely leveled the ride height.
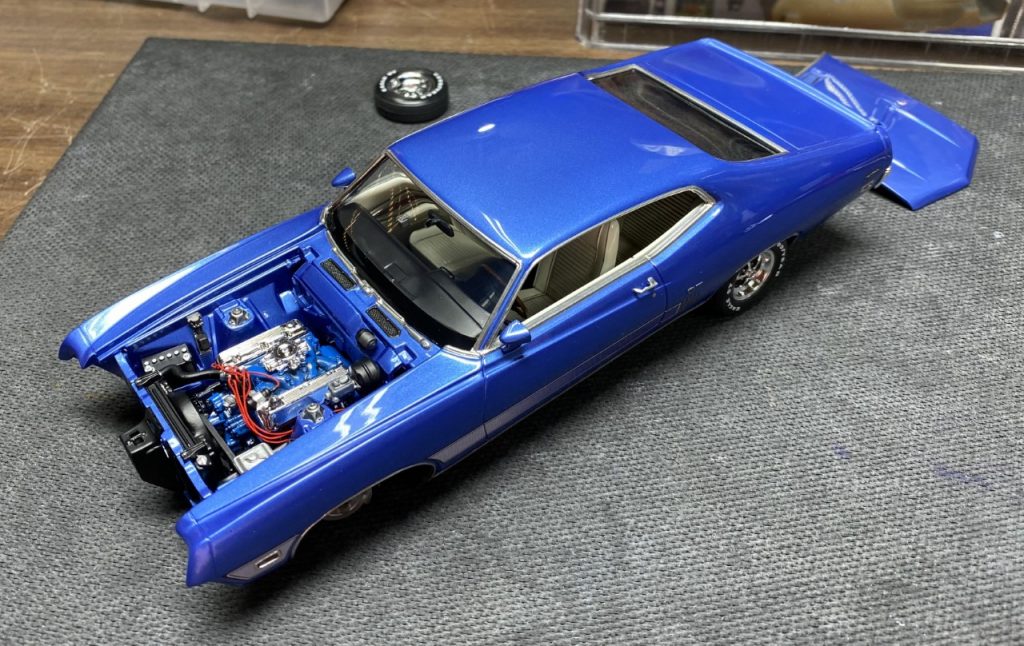
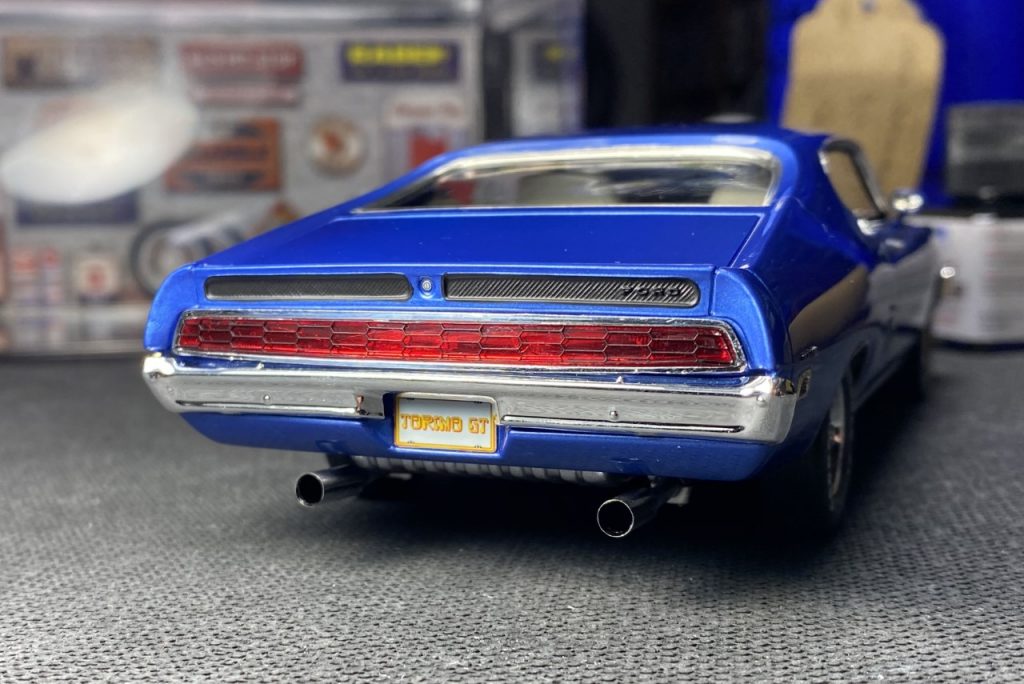
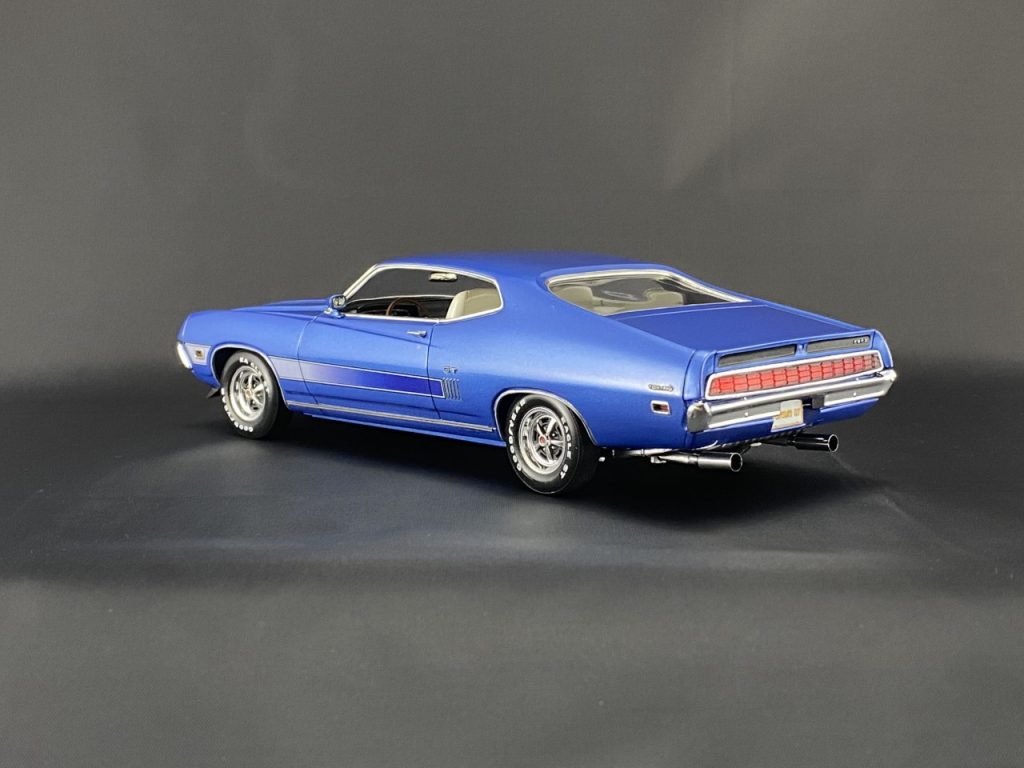
Wrapping up the details, I attached the front and rear bumpers, radiator hoses and the rear view mirrors. To help make them more secure, I drilled and pinned the mirrors.
Done!
The photo etch set included a nicely detailed medallion for the front grill. I managed to throw it out. To remedy the problem, I found a good picture of one online. I shrunk it and printed it on photo paper. I really feel the replacement looks even better.
Final Thoughts
As I’ve mentioned several times through this write-up, the kit was well detailed and fit together nicely. There were a few anomalies that I’ve noticed on other people’s builds that are a bit frustrating considering the overall quality of the kit. Those include the odd fit between the hood and the grill along with the rear bumper seemingly having a different arc than the tail lights. I didn’t notice the oddity on 1:1 references. Aside from that, this turned built into a fantastic Tornio.
Completed: July 2020