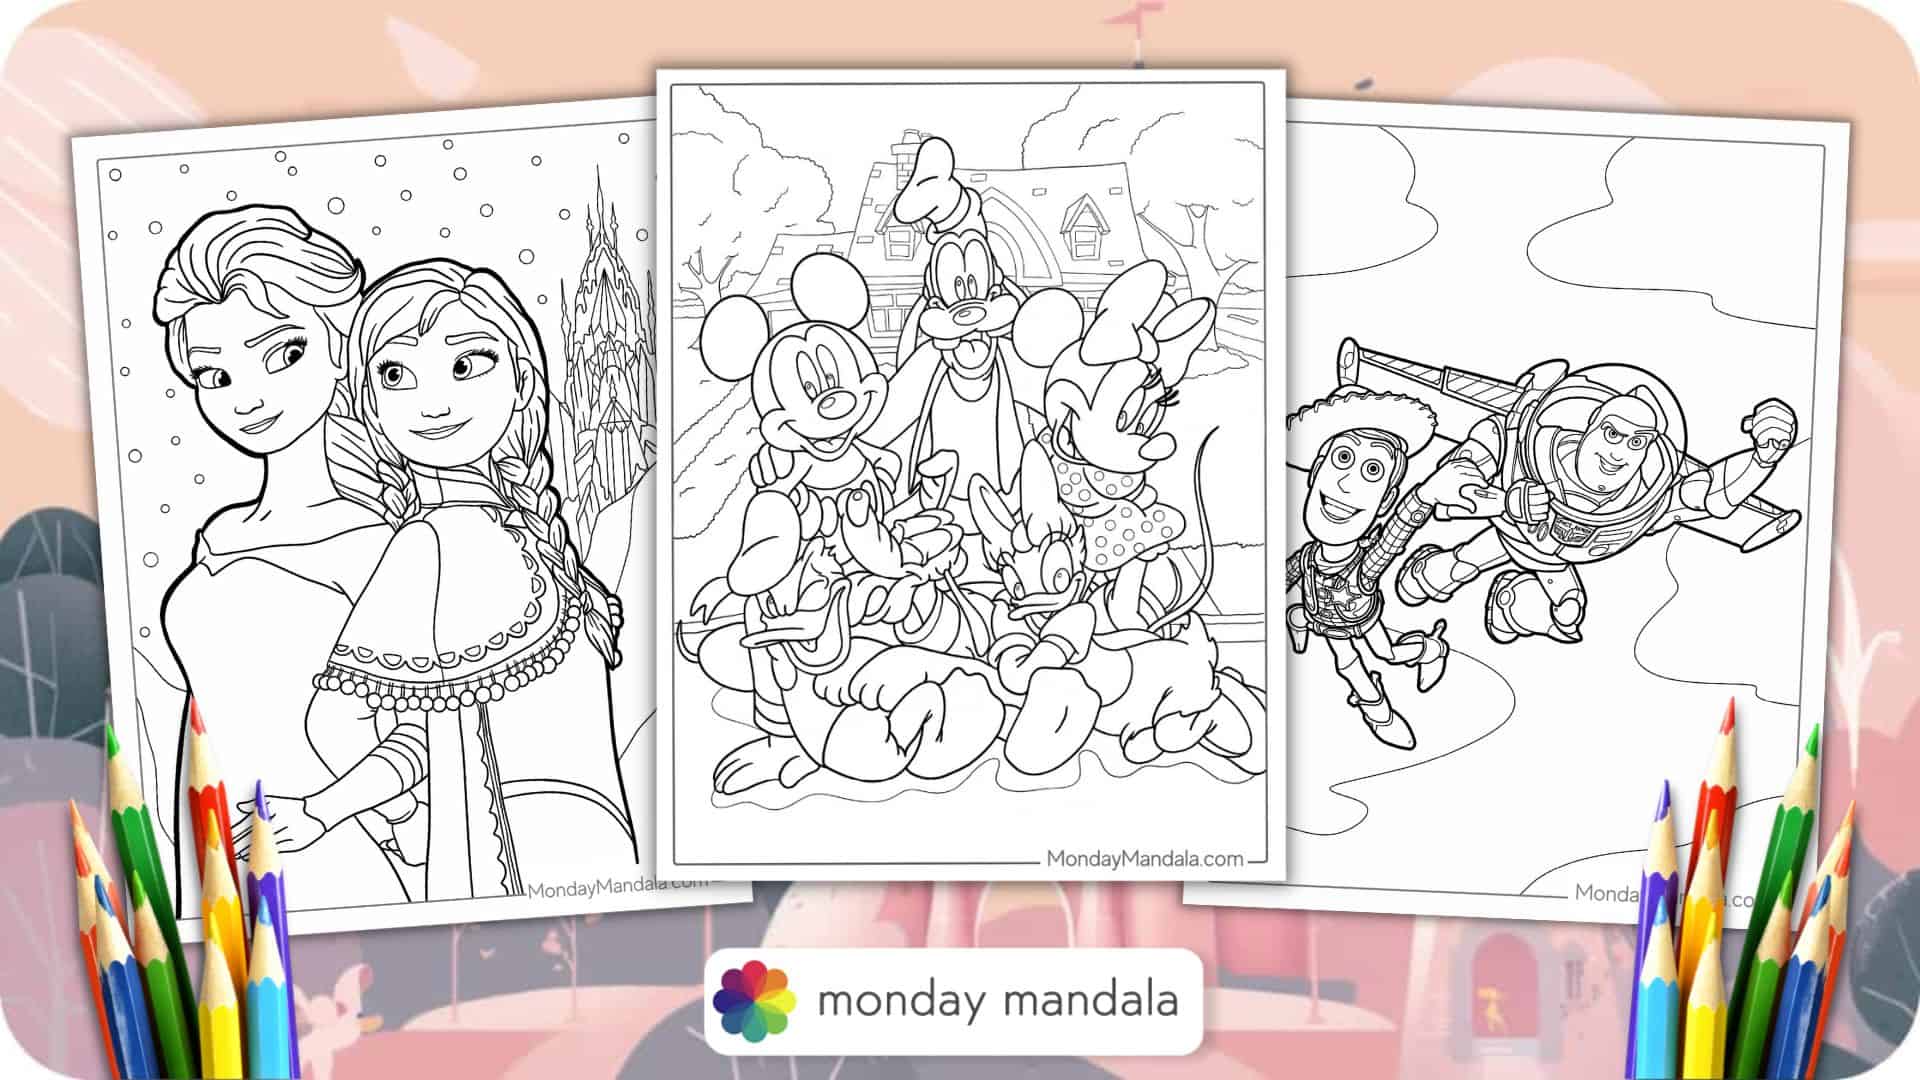
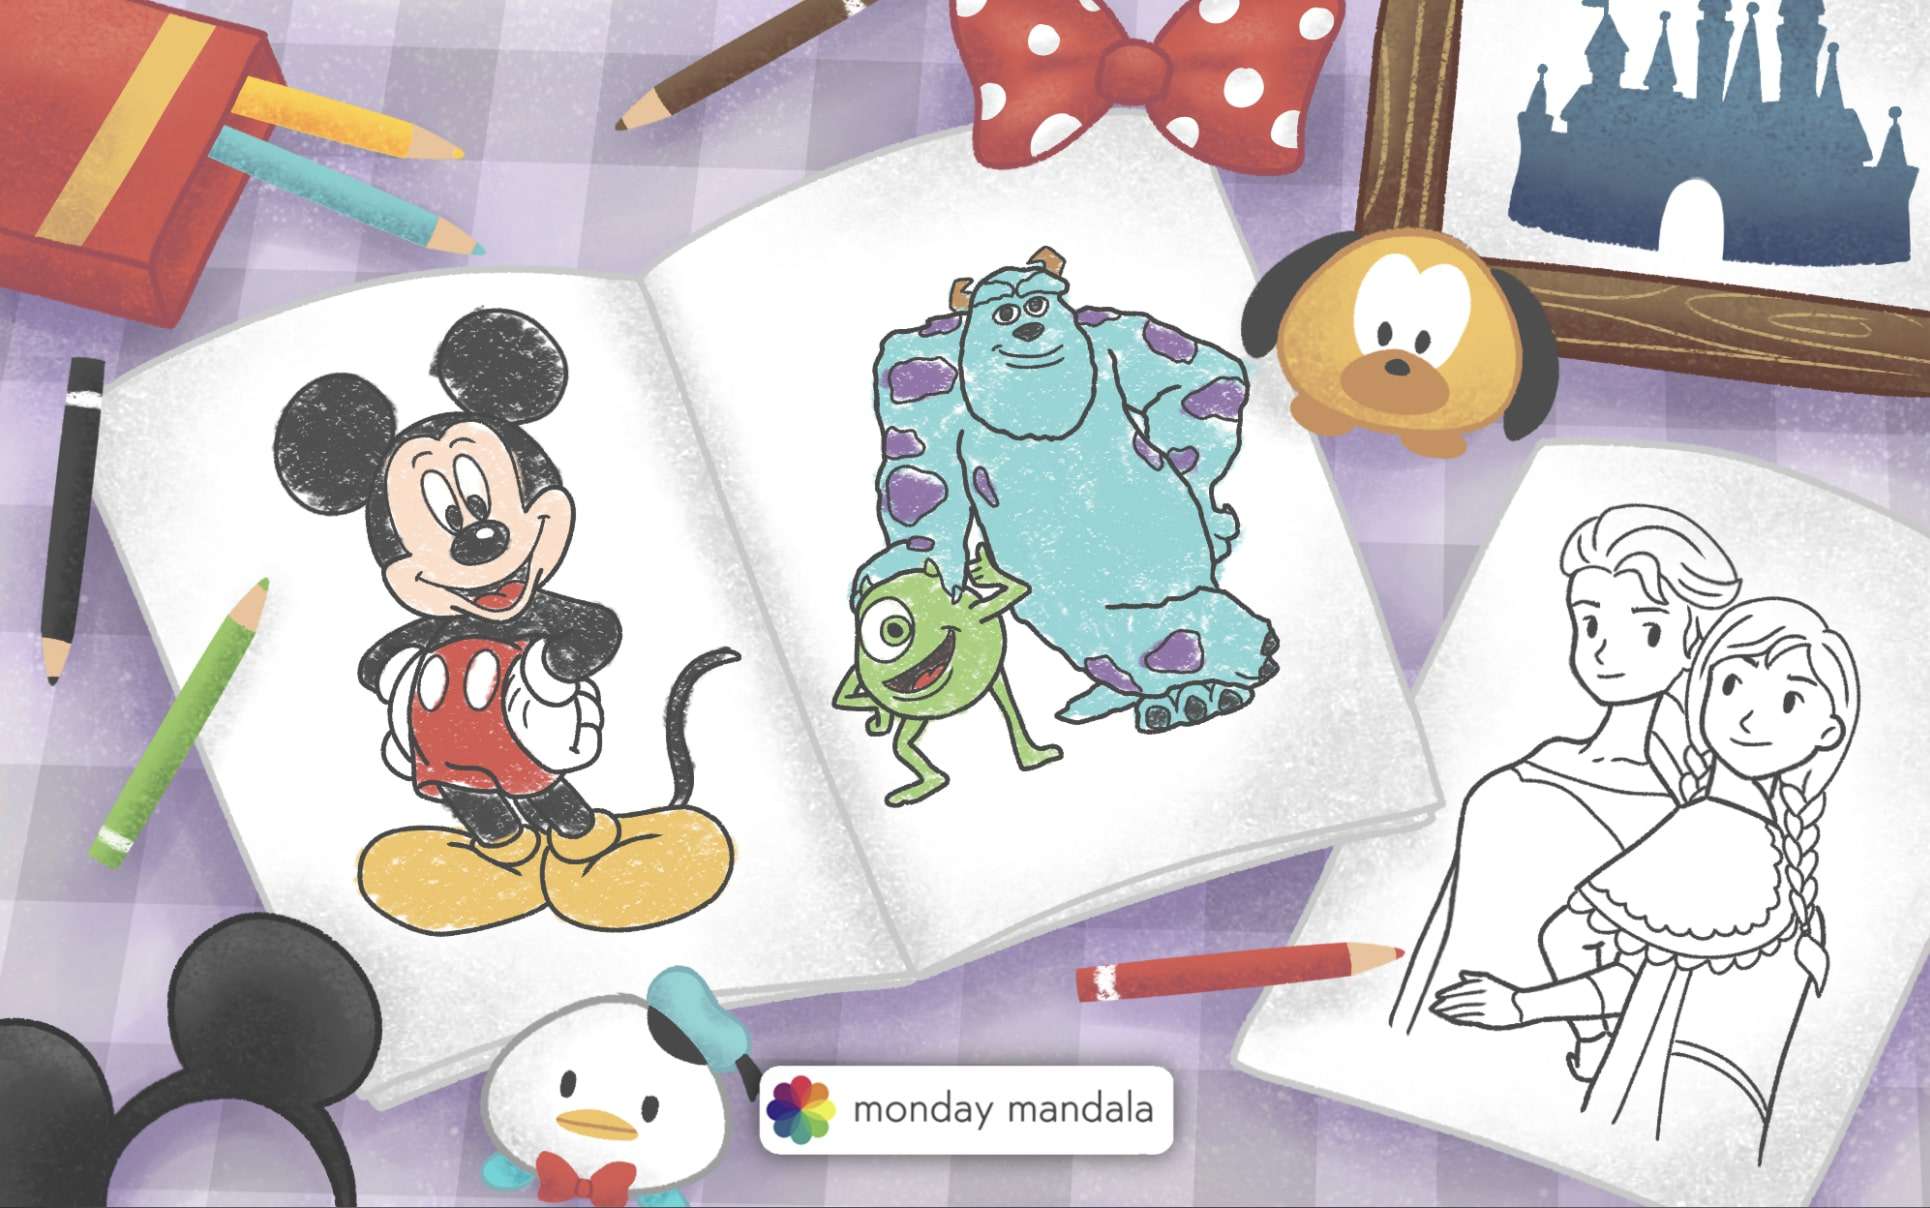
On this page, you will find over 500 Disney coloring pages that are all free to download and print! Who doesn’t love Disney!? From classic animated films that we will never forget to new favorites, Disney has captured the hearts of kids and adults for generations!
For this series, we have compiled a list of all the Disney coloring pages on our website for easier navigation (which will be updated as we post more). Below, you will find iconic Disney and Pixar characters and movies, such as Cars, Frozen, Lilo & Stich, Toy Story, Disney Princesses, Micky and Minnie, Lion King, and many more!
To use any of these free printables, you can click on any of the below images or links to open the high-resolution PDF on a new page. From there, you can freely download or print to your heart’s content!
All these PDF coloring pages are on standard US letter size, but they also fit perfectly onto A4 paper sizes! Enjoy!


20 Craft Ideas To Do With Disney Coloring Pages
Disney characters have endured through the decades and are a top choice among all children.
Here are 10 fun and affordable ways to turn those finished coloring pages into crafts.
1. A Lilo and Stitch Mobile With a Twist
To make an original mobile for a child’s room, all that’s needed are the finished coloring pages, an embroidery hoop, and some green streamers.
Several Lilo and Stitch figures should be colored and cut out, attached to different lengths of thread, and hung from the embroidery hoop in the classic mobile pattern.
The green streamers should then be tied in between the cutouts. The idea is to make it look like Lilo’s famous grass skirt!
2. Create a Lightning McQueen Racer
With an ordinary toy car from a discount store and a coloring page, any child can have his or her own Lightning McQueen racer!
When your youngster has colored several Lightning McQueen pages, the figures should be carefully cut out and used as decals to strategically decorate the car.
Krazy glue works best for the decals, and two coats of acrylic spray will seal the artwork for a toy that will last a long time.
3. I Now Crown You, Lion King
Children love wearing hats and crowns, but nothing is better than the Lion King for this craft.
Any coloring page featuring the Lion King works for this idea, but choosing one featuring a “roaring” lion is particularly fun.
Begin with a long cardboard strip-shaped into a circle as the base of the crown and glue the Lion King cutout to the front.
To make it extra fancy, side characters from other pages can be colored, cut out, and used to decorate the rest of the cardboard.
4. Store Some Honey With Winnie the Pooh
Two or more Winnie the Pooh characters should be colored, cut out, and laminated to the side of an ordinary canning jar. Invisible glue works best for this.
Your child may decide to put Winnie the Pooh on one side and Tigger on the other for a special touch.
Once the cutouts are glued to the jar, the colorful ribbon should be tied around the top, and the words “Honey Jar” should be added in puffy paint.
A few coats of acrylic spray will keep the jar looking lovely for years.
5. Make an Original Moana Bracelet
It’s easy to make a unique Moana bracelet from a finished coloring page. Start by cutting off the end of an empty wrapping paper cardboard.
Felt should be used to laminate the cardboard, and a cut should be made through one side to be worn as a cuff bracelet.
Moana should be colored, carefully cut from the page, and sealed in contact paper.
Attach the cutout to the top with Krazy glue; your child has a unique bracelet!
6. Create an Olaf the Snowman Centerpiece
Two Olaf coloring pages will be needed for this craft, but that will make your child happy.
An ordinary napkin holder from a discount store and some freehand snowflakes cut from white poster board is all that’s needed.
When two Olaf figures are colored and cut from the page, they should each be glued to one of the snowflakes.
The snowflakes should then be glued to either side of the napkin holder for an adorable table centerpiece.
7. Tinkerbell in the Garden
Tinkerbell has endured for so long that many children believe this entertaining pixie is a real-life fairy.
Since fairies are rumored to love forests and gardens, she’s the perfect character for a lawn ornament.
Have your child color and cut out Tinkerbell for this easy craft, and attach her to an extra-long craft stick or knitting needle.
The cutout should be sealed with contact paper or a few coats of acrylic spray for a lovely garden ornament that can be staked in the ground.
8. A Hilarious Mickey Mouse Accordion Hat
For this craft, have the child color two Mickey Mouse figures with their arms prominently bent.
Next, fold a long, narrow piece of poster board into an accordion. Ideally, it should be black, but any color works.
When the Mickey Mouse figures are cut out, one should be glued to either side of the “accordion.”
When pulled around to create a circle, it can be worn as a hat, and it will look like the two Mickey Mouse figures are linking arms around the child’s head!
9. Make a Fancy Cinderella Fan
This craft is a big hit with any Cinderella enthusiast! When the coloring page is finished, the skirt should be cut out separately from the rest of the figure.
It should be glued to a piece of construction paper with invisible glue and folded into the shape of a fan.
The remaining cutout should be glued to a craft stick, and the skirt reattached to open and close as a fancy Cinderella fan.
10. Create a Cute Minnie Mouse Serving Tray
This easy craft starts with an everyday plastic serving tray that can be found at any discount store.
The child can decorate it with hearts, flowers, or that famous Minnie Mouse bow, using red, white, and pink puffy paint.
A ring of craft bows can even be added around the tray’s border.
When Minnie Mouse is colored and cut from the page, she can be glued to the bottom of the tray face-up for an adorable snack tray.
11. Dalmatian Fun for Everyone
Even if you don’t have 101 children, this Dalmatian craft will be lots of fun! Each youngster should color a Dalmatian, cut it from the page, and set it aside.
Next, from plain white construction paper, the children should trace and cut out a bone and write their name on it with black puffy paint.
The bones are then glued to the Dalmatians’ mouths, and the cutouts can be strung together for a giant classroom banner.
12. Snow White Paper Dolls
Begin this craft by having your child color Snow White and reinforce the page with thin cardboard. The figure should then carefully be cut out.
Depending on the type of Snow White figure chosen, your child might decide to cut the parts out separately and reattach them with paper fasteners to make the limbs movable.
Additional snow white pages can be used to create clothes for the paper doll.
Just make sure to outline paper tabs before the clothes are cut out so that they can be folded around the figure!
13. Create a Slinky Dog Decoration
A coloring page featuring Slinky dog is perfect for this Toy Story craft. Begin by making a brown construction paper chain.
Next, cut Slinky Dog from the coloring page and cut all the parts out separately.
With staples or tape, attach the head to the front of the chain and the tail to the back.
Place his front and back legs in the appropriate spots, and you have a hilarious Slinky Dog ornament to hang wherever you choose.
14. A Tangled Tower
For this fun craft, give each child a large poster board, turned vertically, and let them draw their own Rapunzel tower, making sure to create a window.
After they have colored and cut out their Rapunzel figures from the page, the cutouts can be placed in the windows.
Then, using yarn or streamers, the youngsters can add Rapunzel’s famous hair, ensuring it’s long enough to trail to the bottom of the tower.
The posters can then be embellished in any way the children like to make them extra fancy.
15. Frozen in the Snow
All youngsters enjoy this craft, which begins with a sealable, clear container and some blue-and-white aquarium beads.
A thin layer of the aquarium beads should be glued to the bottom of the container, which is then filled with water and tiny craft sparkles.
The outside should be decorated with cutouts from the Frozen coloring pages after they’re sealed in contact paper.
When the container is shaken, it appears to be snowing, just like those old-fashioned snowstorm globes.
16. Monsters Say Keep Out
A funny “Keep Out” sign is easy to make from any Monsters Inc. coloring page. Sulley works great for this craft, but any of the characters will do.
Begin this craft with any size poster board your child prefers. If desired, it can be cut into the shape of the stop sign to go with the theme.
When the child has colored his or her monster, it should be cut out and glued to the center of the sign, with “Keep Out” written underneath in bright puffy paint.
17. Finding Nemo in a Soapdish
An inexpensive soap dish and a few simple craft items are all necessary to make a cute Nemo decoration.
Nemo should be colored, and the page glued to stiff cardboard. Leaving an extra square of cardboard at the bottom when Nemo is cut out is essential.
Once this tab is folded over, it can be used to glue Nemo to the center of the soap dish. This way, he will “stand up.”
The surrounding area can then be decorated with aquarium stones, stickers, and waves can be drawn with blue puffy paint.
18. Ariel on her Rock
This craft is simple and easy for any child. All that’s necessary is the coloring page, cardboard, and an ordinary rock from the outside.
Once Ariel is colored and cut out, she can be affixed to the rock’s surface and decorated with glitter, puffy paint, and sequins.
A few coats of acrylic spray, you have a beautiful paperweight that can be used for many years.
19. Jasmine in a Magic Lamp
For an engaging Princess Jasmine craft, have your child draw an Aladdin’s lamp, and cut a space in the middle to create a homemade picture frame.
When Jasmine is colored, the child can then cut her from the coloring page and place her inside the magic lamp picture frame.
It can then be embellished with gold glitter, and Jasmine’s name written on the bottom of the “frame” with black or white puffy paint for a cute decoration.
20. Pin the Nose on Pinocchio
For this easy and enjoyable craft, Pinocchio should be colored, cut from the page, glued to a piece of square corkboard, and hung on a wall or outdoors.
The children can then similarly have fun pinning the tail on the donkey, except the goal of this game is to pin Pinocchio’s nose in the right spot!
A ribbon, slip of paper, or any item can be used as the “nose,” and the blindfolded youngsters can see how close they can come to the Pinocchio cutout’s actual nose.