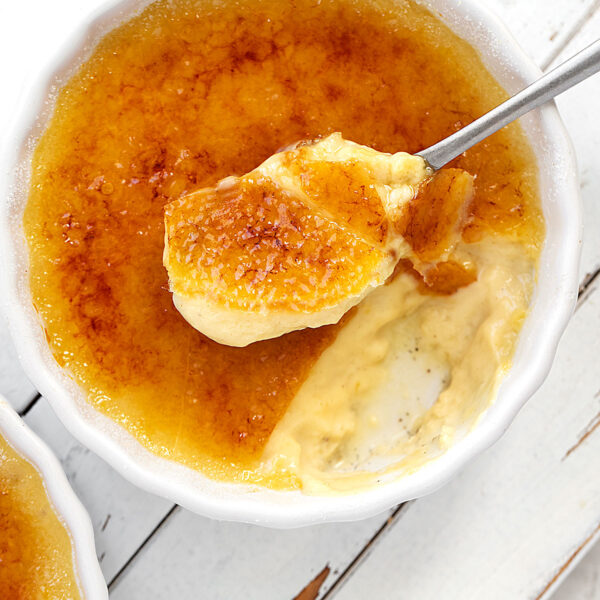
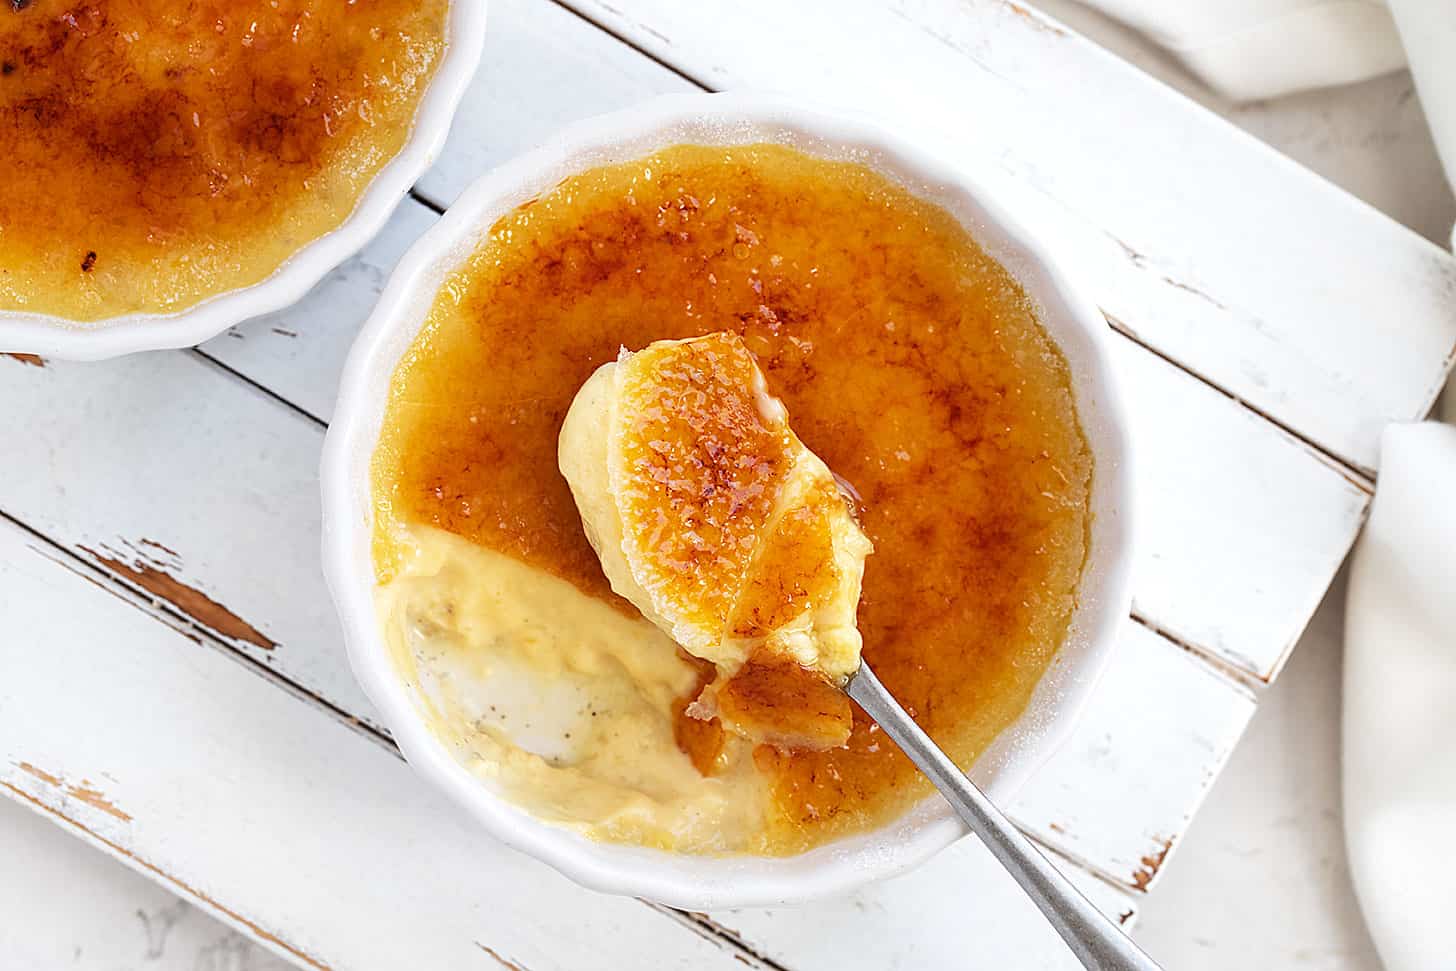
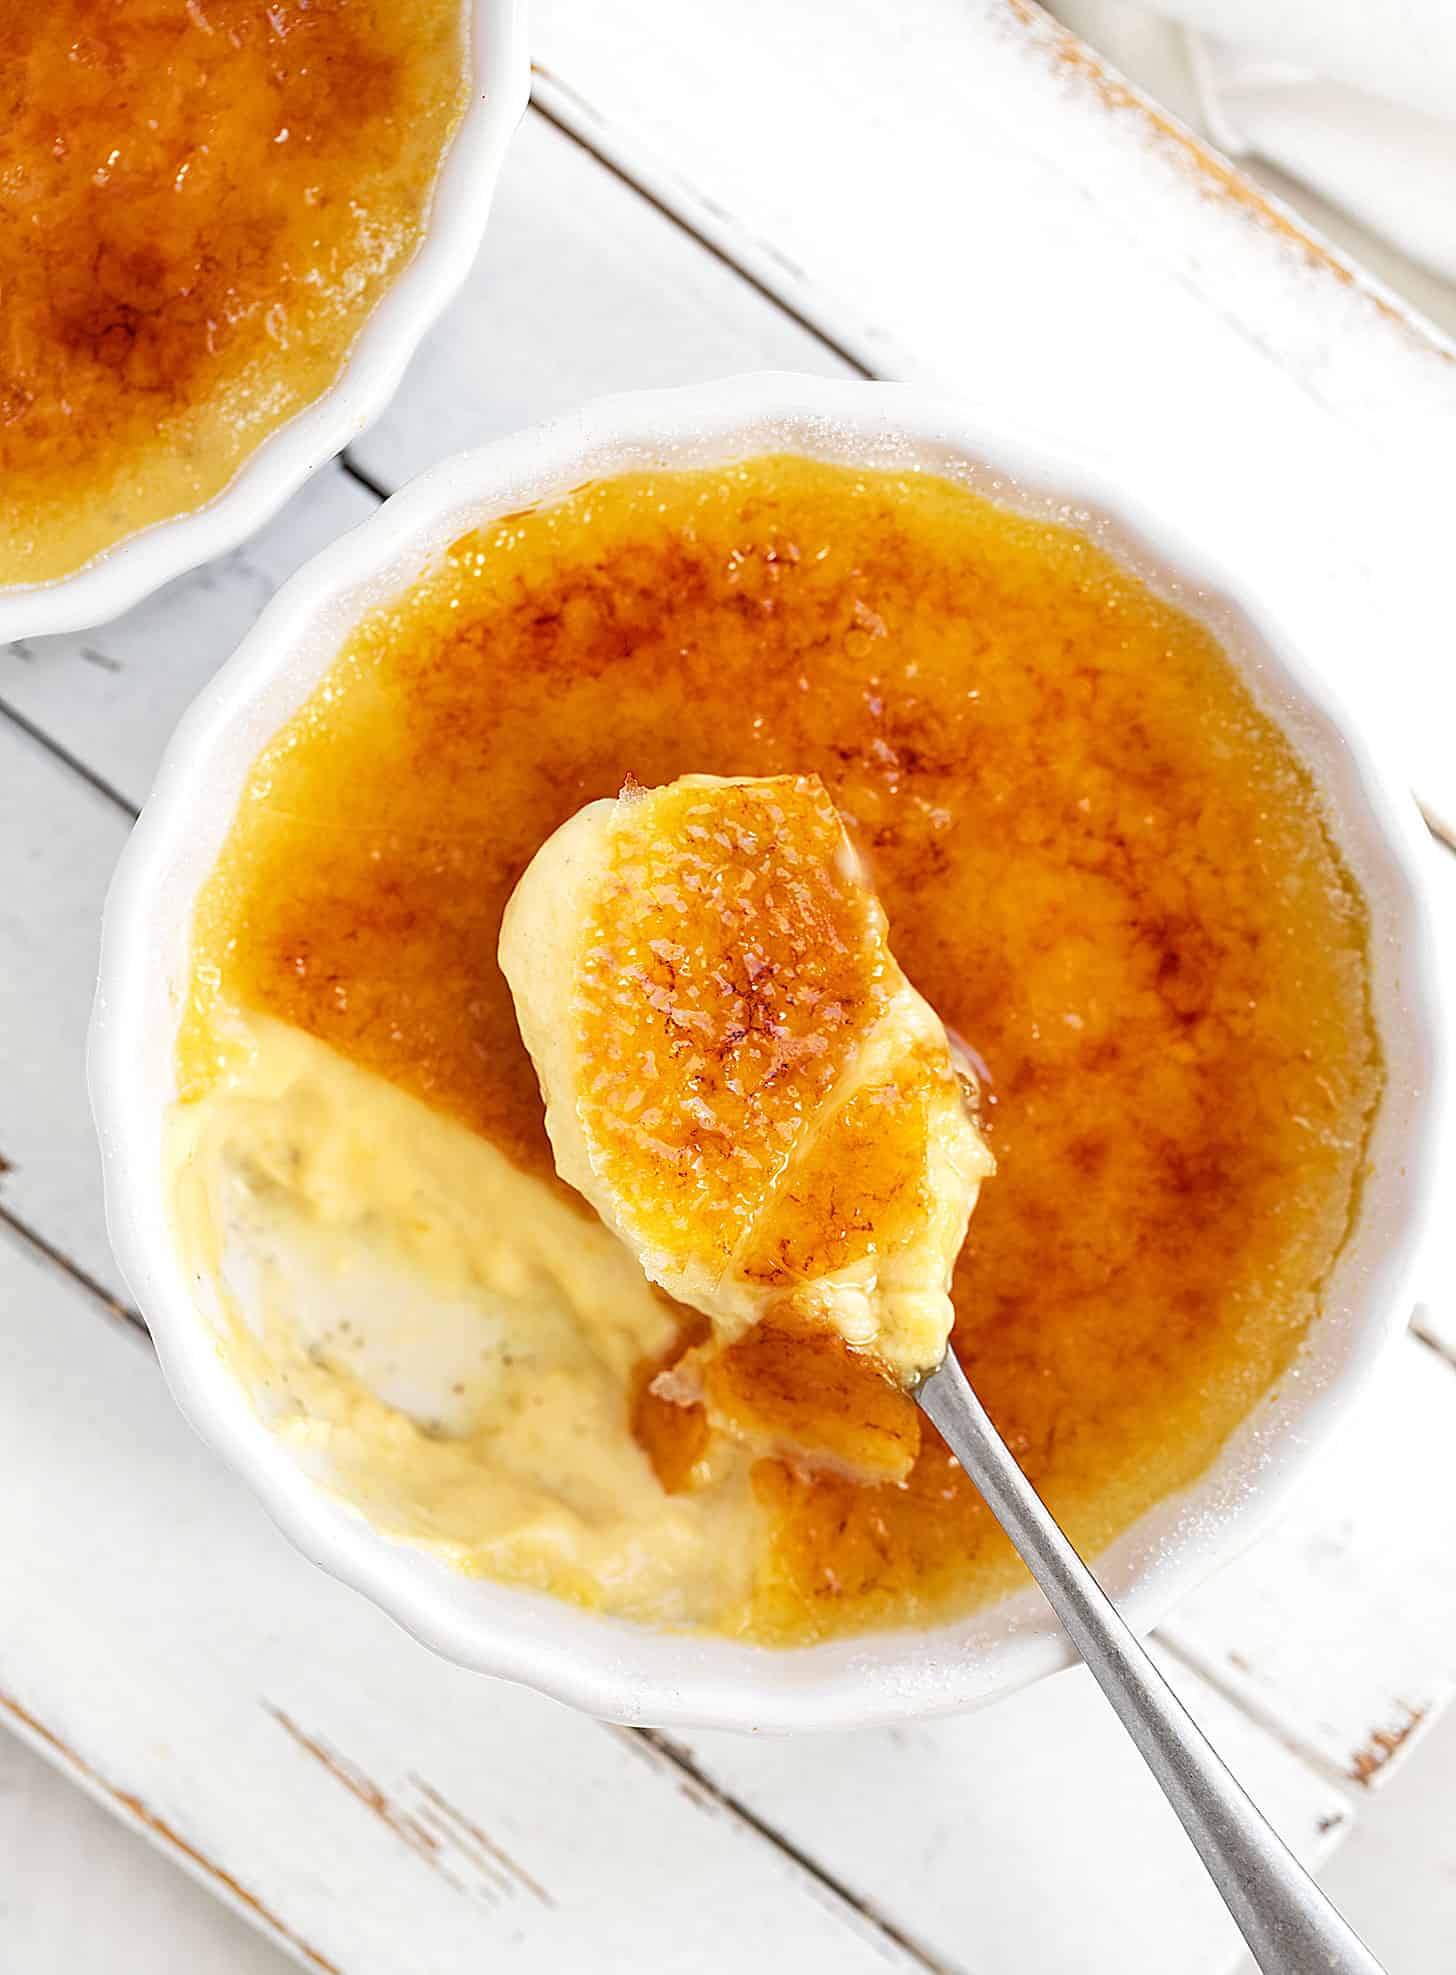
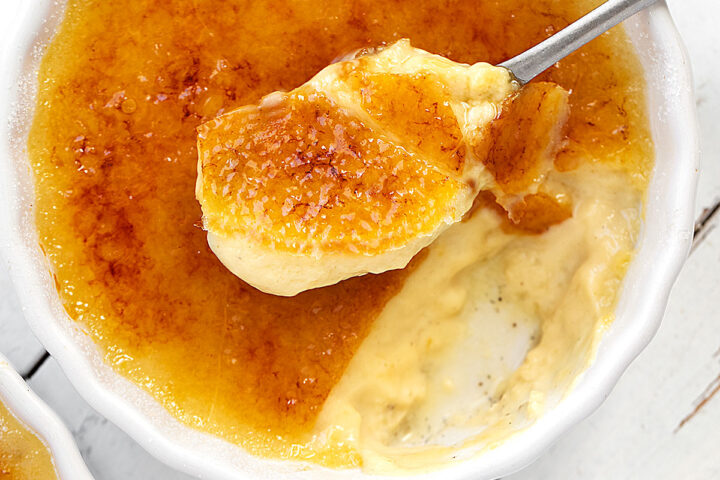
Silky smooth maple Crème Brûlée, infused with real maple syrup for fabulous maple flavour. Topped with a classic torched sugar topping.
Why I love this Maple Crème Brûlée
- Crème Brûlée is a fabulously delicious, simple, but elegant dessert. This Maple Crème Brûlée recipe adds real maple syrup to the silky smooth custard for a great flavour variation on the classic.
- This Maple Crème Brûlée is not hard to make. Really! (I’ve included a few tips to make it perfect every time below.)
- Crème Brûlée is a great make-ahead dessert, as the custards need to be made ahead and refrigerated, so you can make them up to 24 hours ahead. When ready to serve, torch or broil the sugar topping.
- Maple flavours are perfect for Spring (yes, maple syrup is a Spring thing!), so these are perfect as a make-ahead Easter dessert.
Five Simple Ingredients
Heavy Whipping Cream – this is the 35% cream and there is no substitute when it comes to crème brûlée.
Maple Syrup – real maple syrup is really the only option here, too. I like to use Amber or Grade B, as it has a more pronounced maple flavour.
Vanilla – I generally use vanilla bean paste here, because I love the little specks in the custard. Vanilla bean scrapings work also. And of course, pure vanilla extract is also fine.
Eggs – use large eggs. Since eggs are a critical component of a custard, using the best eggs you can get your hands on is a worthwhile investment, as well.
Sugar for Topping – you can use white granulated sugar, brown sugar, turbinado sugar or maple sugar. If you are looking for a classic crack-with-a-spoon topping, opt for the white granulated sugar. That said, brown sugar tends to melt more evenly if you are using the broil method for the topping. Experiment with different toppings to see what works best and what you prefer.
Five Simple Steps (Step-by-Step Photos)
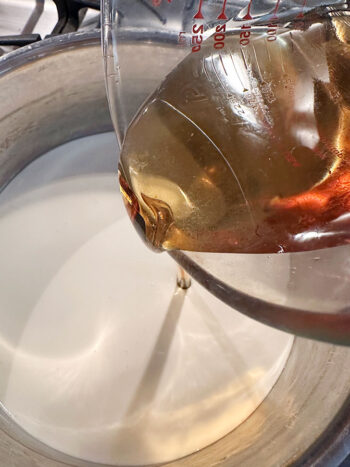
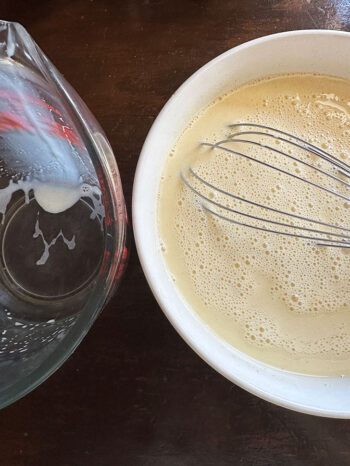
- Heat the cream and maple syrup in a saucepan until it just starts to bubble around the edges, then transfer to a large measuring cup for easy pouring.
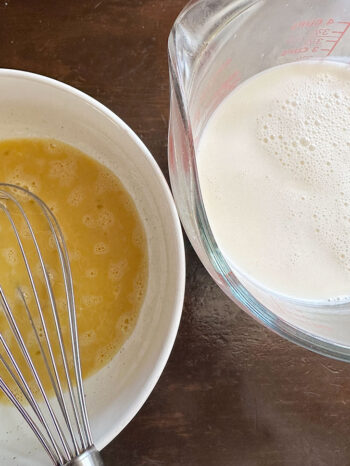
- In a medium bowl, stir together the egg yolks and vanilla.
- Add the hot cream very, very slowly to the eggs (a drop at a time, to start), while continuously stirring. Increase to a slow, steady stream gradually, stirring continuously, until all the cream is added.
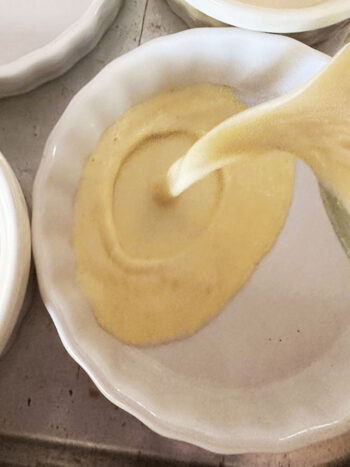
- Pour custard into ramekins. Add hot water to the baking pan until it reaches halfway up the sides of the ramekins and cook until just set. Cool, then refrigerate for 3-24 hours.
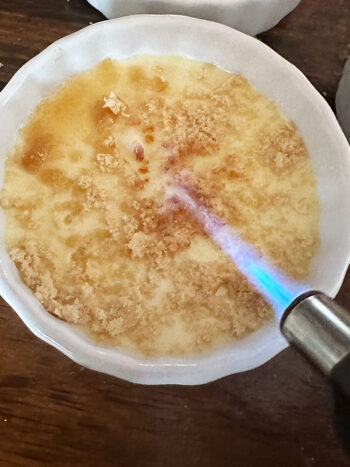
- Before serving, top with sugar and torch or broil until caramelized. (*Note: process photos show brown sugar topping, but the large display photos on this post show the finished custards with a white sugar topping. I did several different toppings to test. I preferred the white sugar topping, in the end.)
Five Tips for Perfect Crème Brûlée
- Tempering the Eggs: The most important part of making Crème Brûlée is to have a lot of patience when combining the hot cream mixture with the eggs. It absolutely must be done painfully slowly, or the eggs will cook. Start with a few drops, while constantly stirring with a fork or slowly mixing with a whisk. Increase to a slow, steady stream, continuing to stir continuously, until all the cream is added. Your custard should be perfectly smooth. If you went too quickly and you have bits of egg in your custard, run it through a fine-mesh strainer to remove (not ideal, but a “fix”).
- Picking Baking Dishes: For best results, use all the same size ramekins and fill them all to the same depth. That way they will cook consistently. Classic Crème Brûlée is typically served in shallow, wide ramekins, either round or oval, but you can use what you have. The cooking time will vary by the size and shape of the dishes.
- Don’t Over-cook: Watch closely after 20 minutes of baking, so you can regularly gauge the custard and avoid over-cooking. The cooking time will vary by the size of the dishes and the depth of the custard. Check by gently jiggling the pan and watching how much the custard moves. They are done when they are just barely set and still very jiggly (but not liquidy). In the ramekins shown here, the cooking time was 27 minutes. Yours may vary depending on how thick the custard is and the size/shape of your baking dishes.
- Getting the Classic Torched Sugar Topping: For a perfect crack-with-a-spoon Crème Brûlée, use white granulated sugar and do several thin layers of sugar, rather than one thick one. You may need to do 3 or 4 layers to get a layer thick enough for cracking.
- Chill After Torching: After torching or broiling the sugar topping, return the custards to the fridge to set up the sugar topping for at least 10 minutes or so. You can leave them in the fridge for up to 2 hours after topping, but not much longer, as the hard sugar topping will start to moisten, soften and melt.
How to Broil the Crème Brûlée Topping
If you don’t have a kitchen torch, you can use your oven broiler instead. Place ramekins on the cookie sheet. Broil with tops 4 to 6 inches from the heat source, for 5 to 6 minutes or until sugar is melted and forms a glaze. You can use tongs to rotate the ramekins to broil evenly. (Brown sugar melts more evenly under the broiler). Pop into the fridge for at least 10-15 after broiling to harden the topping. You can leave in the refrigerator for up to 2 hours, but no longer.
Making ahead, Storing and Freezing
Making ahead is required, as the custards need to refrigerate for at least 3 hours. Torch or broil the topping close to serving (once torched, they need to chill again for at least 10-15 minutes or up to 2 hours).
Store leftovers in the fridge for 1-2 days, but note that the sugar topping will not stay hard and will probably melt to some extent.
Freezing is not an option, as the creamy texture will change through the freezing process.
Want to Save This Recipe?
Enter your email & I’ll send it to your inbox. Plus, get great new recipes from me every week!
By submitting this form, you consent to receive emails from Seasons and Suppers.
Get the Recipe: Maple Crème Brûlée
Ingredients
- 2 cups heavy whipping cream, 35% b.f.
- 1/2 cup pure maple syrup, Grade B or Amber recommended
- 4 large egg yolks
- 1 Tablespoon pure vanilla extract, or vanilla bean paste
For topping:
- white granulated sugar, brown sugar, turbinado sugar or maple sugar, *see Note 1 below
Instructions
- Preheat oven to 350F. (regular bake setting/not fan-assisted)
- Place ramekins into a high-sided baking or large roasting pan large enough to hold them all flat. *For best results, use all the same size ramekins and fill them to the same level. That way they will all cook consistently.
- In a medium bowl, mix together the egg yolks and vanilla with a fork or slowly with a whisk (don't whisk vigorously, as you don't want to mix air into them). Set aside.
- In a saucepan, combine the heavy cream and maple syrup and heat over medium heat until small bubbles appear around the edge of the pan. Remove from heat and transfer to a large measuring cup or something with a spout, for easy pouring.
- Very, very slowly (a drop at a time, to start), add the hot cream mixture to the egg yolk mixture, continuously stirring while adding. Increase to a slow, steady stream, while still stirring continuously, until all the cream mixture is added. If you've been patient enough, you should have a perfectly smooth custard. If you have lumps in the mixture, it was added too quickly and a bit of the egg cooked. If this happens, run the mixture through a fine-mesh strainer to remove the lumps. This is not ideal, but it will fix it.
- Divide the mixture between the ramekins. Fill a large container with a spout for pouring with hot tap water. Pour hot water into the pan, adding water to the pan until it reaches halfway up the sides of the ramekins.
- Carefully transfer the pan to the oven and bake custards for 25-30 minutes, checking regularly after about 20 minutes. Test custards by gently jiggling the baking pan and observing how the custard moves. If it still looks quite liquid, let cook a few minutes more then test again. They are ready when they are just barely set, but still quite jiggly (they will firm up a bit more as they cool and chill.)
- Remove from the oven. Allow the custards to sit in the water bath 5 minutes, then use oven mitts to carefully transfer the ramekins to a cooling rack to cool completely. Cover with plastic wrap and transfer to the refrigerator to chill for at least 3 hours or up to 24 hours.
- When close to ready to serve, brûlée to custards. Remove from the fridge and sprinkle with a thin layer of sugar. Use a kitchen torch to melt the sugar by moving the torch around the top about 1" away from the sugar. Once melted, add another thin layer of sugar and repeat. Continue adding another layer or two until you have a nice layer of melted sugar. Continue torching the melted sugar until the sugar becomes golden/amber coloured. Return the custards to the fridge for 10-15 minutes before serving so the topping will harden up. *Once brûléed, you can leave them in the fridge for only about 2 hours before serving, as the topping will start to soften if chilled any longer.
- If you don't have a kitchen torch, you can use your oven broiler. Sprinkle sugar on top of custard. Place ramekins onto a baking sheet. Place on a rack about 4-6 inches from the heat source. Allow to heat about 5-6 minutes, watching closely, or until golden and melted. Transfer to the fridge for 10-15 minutes to set the topping. *You can keep in the fridge no longer than 2 hours after topping, as the sugar will start to soften if kept any longer.
Notes
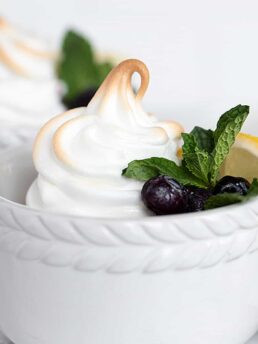
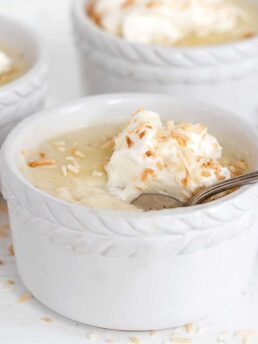
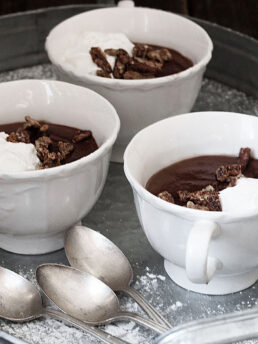
More Pudding Recipes to Love!
Hi! I’m Jennifer, a home cook schooled by trial and error and almost 40 years of getting dinner on the table! I love to share my favourite recipes, both old and new, together with lots of tips and tricks to hopefully help make your home cooking enjoyable, stress free, rewarding and of course, delicious!
A lovely rich custard with just a hint of maple. Very easy to make.
So glad you enjoyed it, Joan :) Thanks so much!