
Solar Oven Experiment
The first thing that crosses your mind when you think about cooking in Death Valley National Park is frying an egg on the pavement. It sounds like a fun experiment until you think about the cleanup. Have you ever tried to scrape egg out of a poorly seasoned cast iron? Yeah, it sucks. It’ll be 100 times worse on asphalt, and then you’re leaving a bunch of grime on the surface of our shared National Park space. It turns out that you’re not the first person to have this idea either. The egg-frying madness had gotten so bad in the park that in 2013 officials released a statement on their facebook page stating the following:
The Death Valley NP maintenance crew has been busy cleaning up eggs cracked directly on the sidewalk, including egg cartons and shells strewn across the parking lot.
This is your national park, please put trash in the garbage or recycle bins provided and don't crack eggs on the sidewalks.
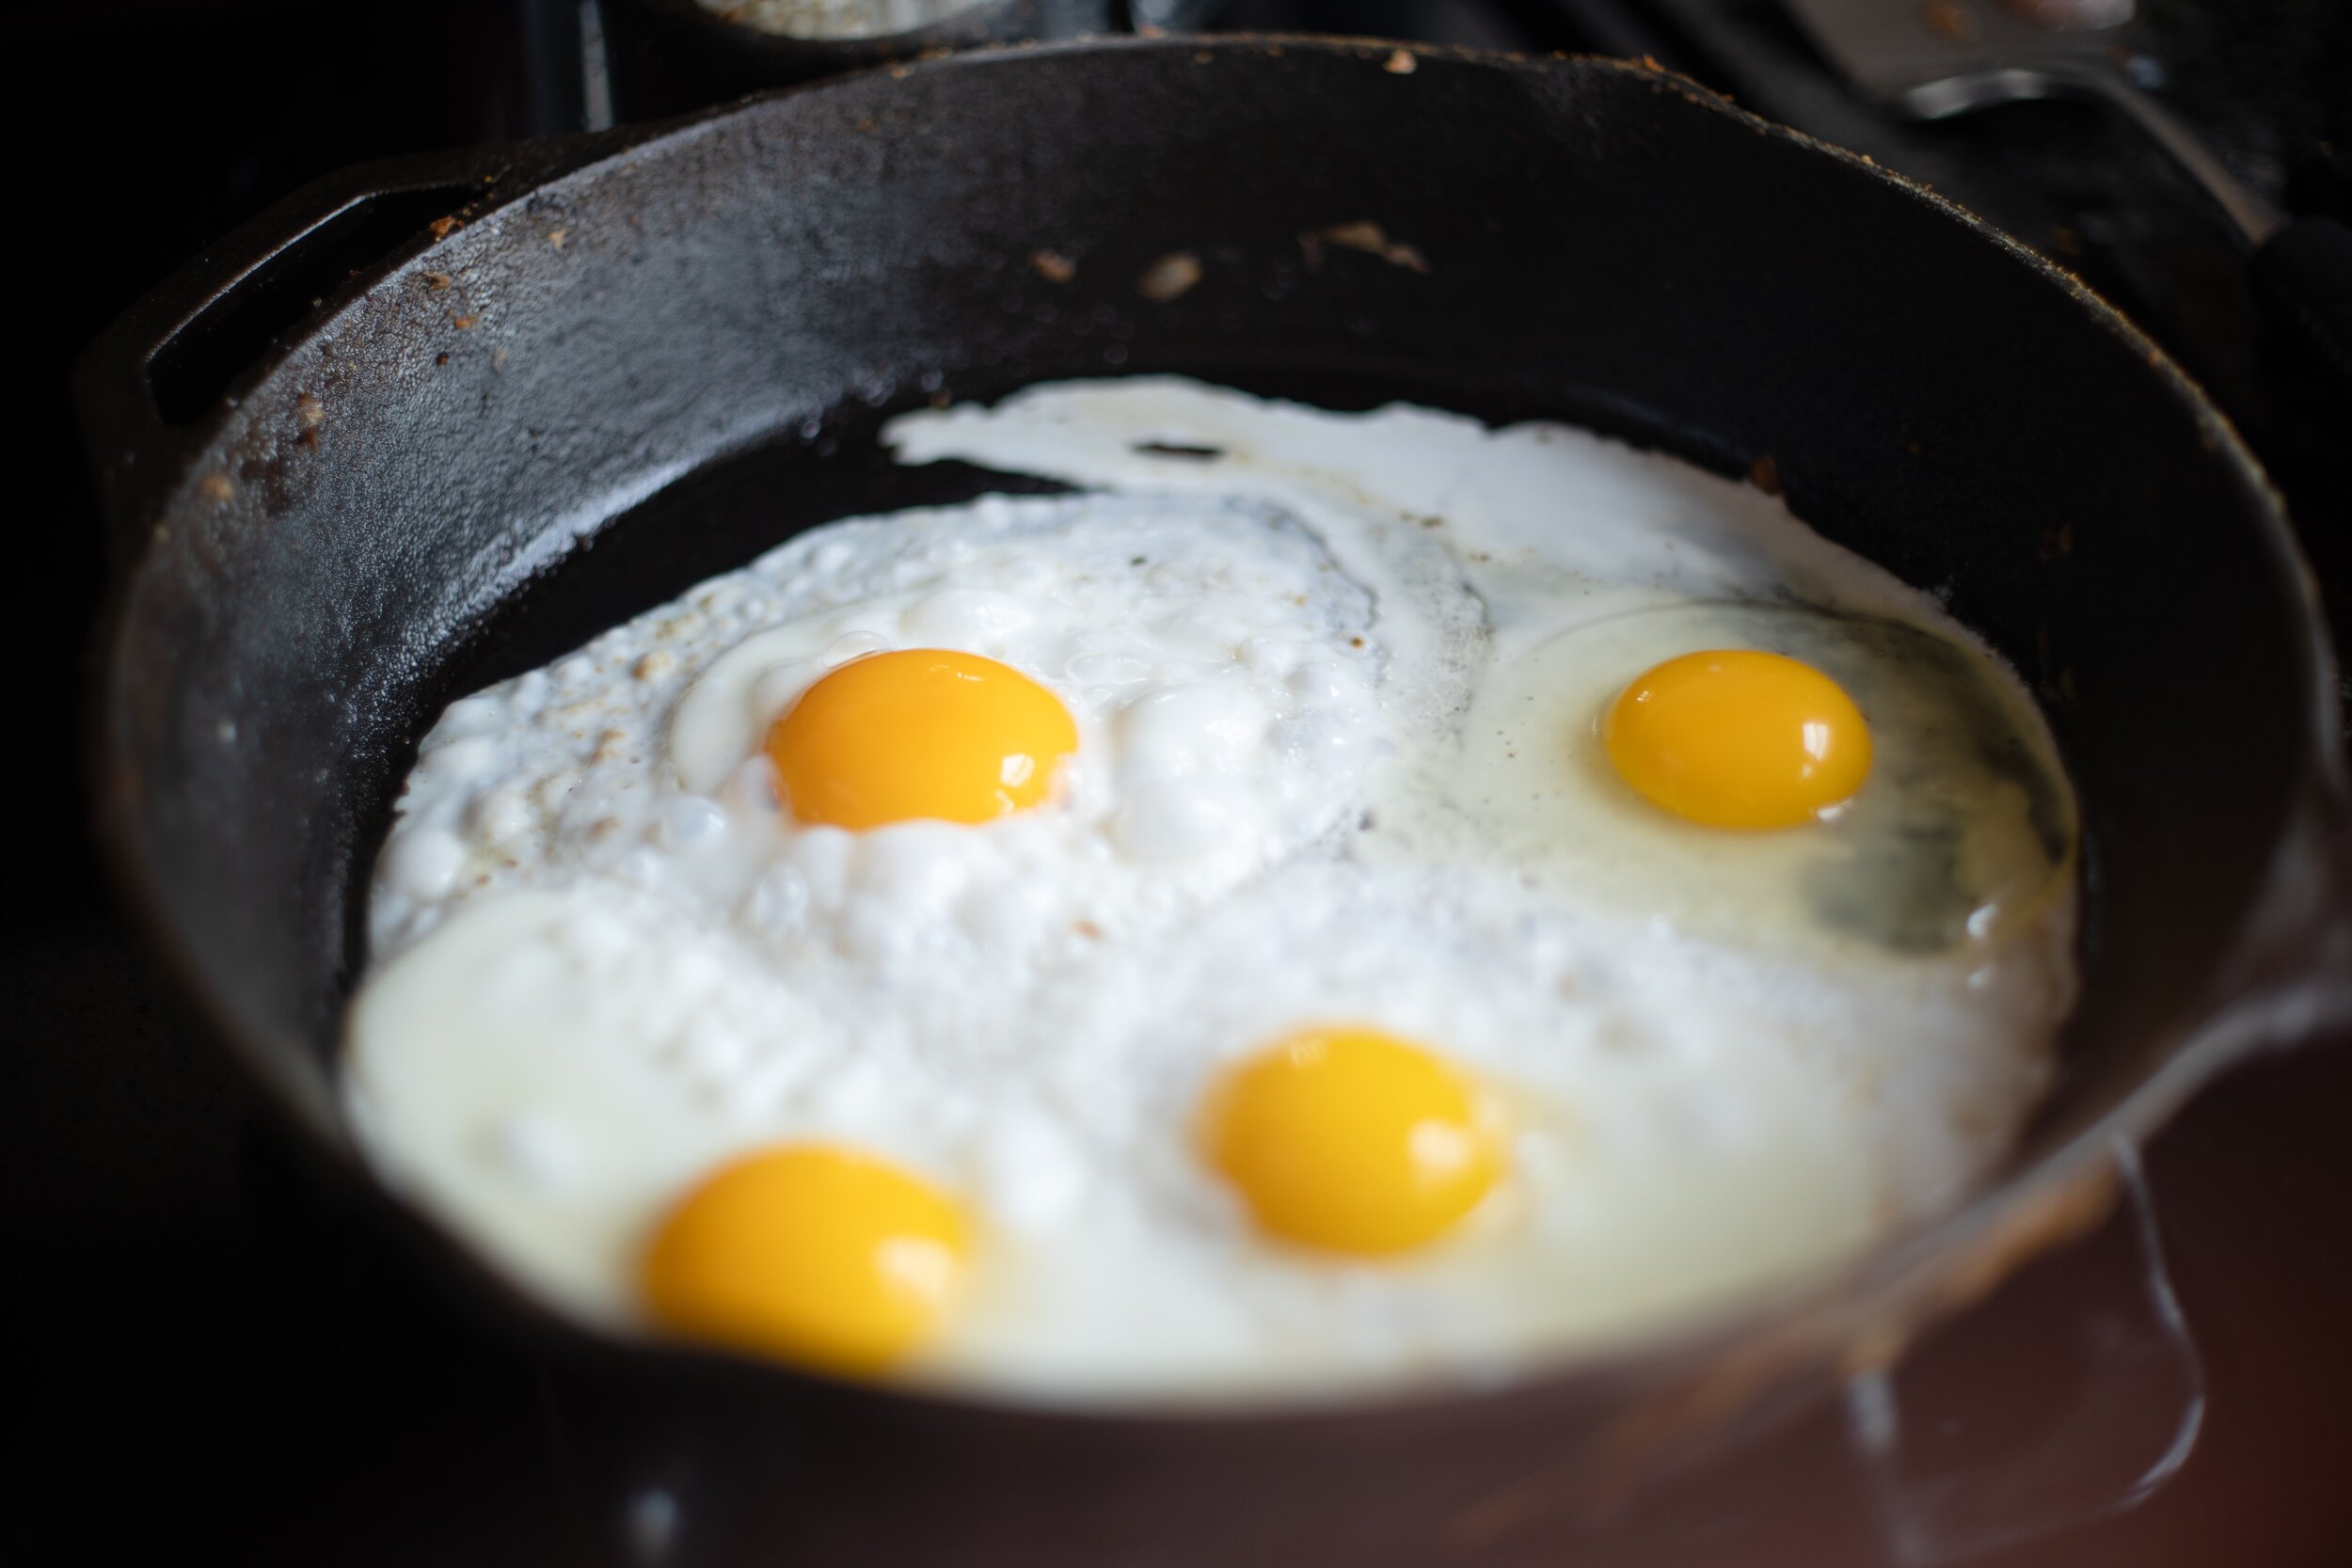
Photo by Sarah Boudreau on Unsplash
Here’s the thing. Frying directly on the pavement not only makes a mess, it also won’t work that well. If you absolutely have to try it use a frying pan for goodness sake! It won’t make a mess, you get to eat the egg, and if you use a glass lid you’ll get the benefit of the greenhouse effect, making actually cooking the thing a little more possible.
Rant over.
Now, since we’re talking about the greenhouse effect, let’s move on to another fun experiment that you can try in Death Valley (or any hot, sunny climate). I bet you know where I’m going with this…I’m talking about building a solar oven. If you search around a bit you’ll find plans for making a solar oven out of a pizza box or even find several easy-to-set-up products that help to harness the energy of the sun into cooking your food. I’ll have to give the pizza box thing a try one of these days, but today I’m going to share with you my experience with hacking together a solar oven using a dutch oven, the Reflectix material that we use in our truck windows, and some saran wrap (hey, you do what you can with what you’ve got!).
First, let’s go over the basics of what it takes to make a solar oven. Here’s what you’ll need:
A vessel with a black bottom. The black surface absorbs heat and helps keep everything hot inside the vessel. Ideally you’d also have a way to insulate the vessel from the outside, again to trap the heat.
Reflective material. You can use aluminum foil over cardboard or try Reflectix like I did, but you need to be able to reposition it as the sun moves across the sky.
A clear cover. Plastic wrap is a little unwieldy in any kind of wind, but you could also use a large ziplock or a tight-fitting glass lid. Just do your best to seal it down. The point of the clear cover is to let the sunlight in while trapping the heat inside.
The goal is to reflect as much sunlight into the vessel as possible. The black surface absorbs and helps retain heat and the clear “lid” lets the sunlight in while trapping the heat inside through a greenhouse effect.
I was able to hack my oven together using the above-mentioned materials and some rocks to hold everything in place.

My first attempt at hacking together a solar oven.
Since we were there in the early spring and in the racetrack area (not the hottest part of the park) it was a relatively mild day. The outside temperature on the day that I did my experiment was around 80 degrees with a slight breeze. I used my laser infrared thermometer to check the temperature of the cast iron alone vs the interior of the makeshift solar oven. As you can see, the black surface of the cast iron increased the temperature by almost 10 degrees. The interior of the oven almost reached a temperature of about 170 degrees F.
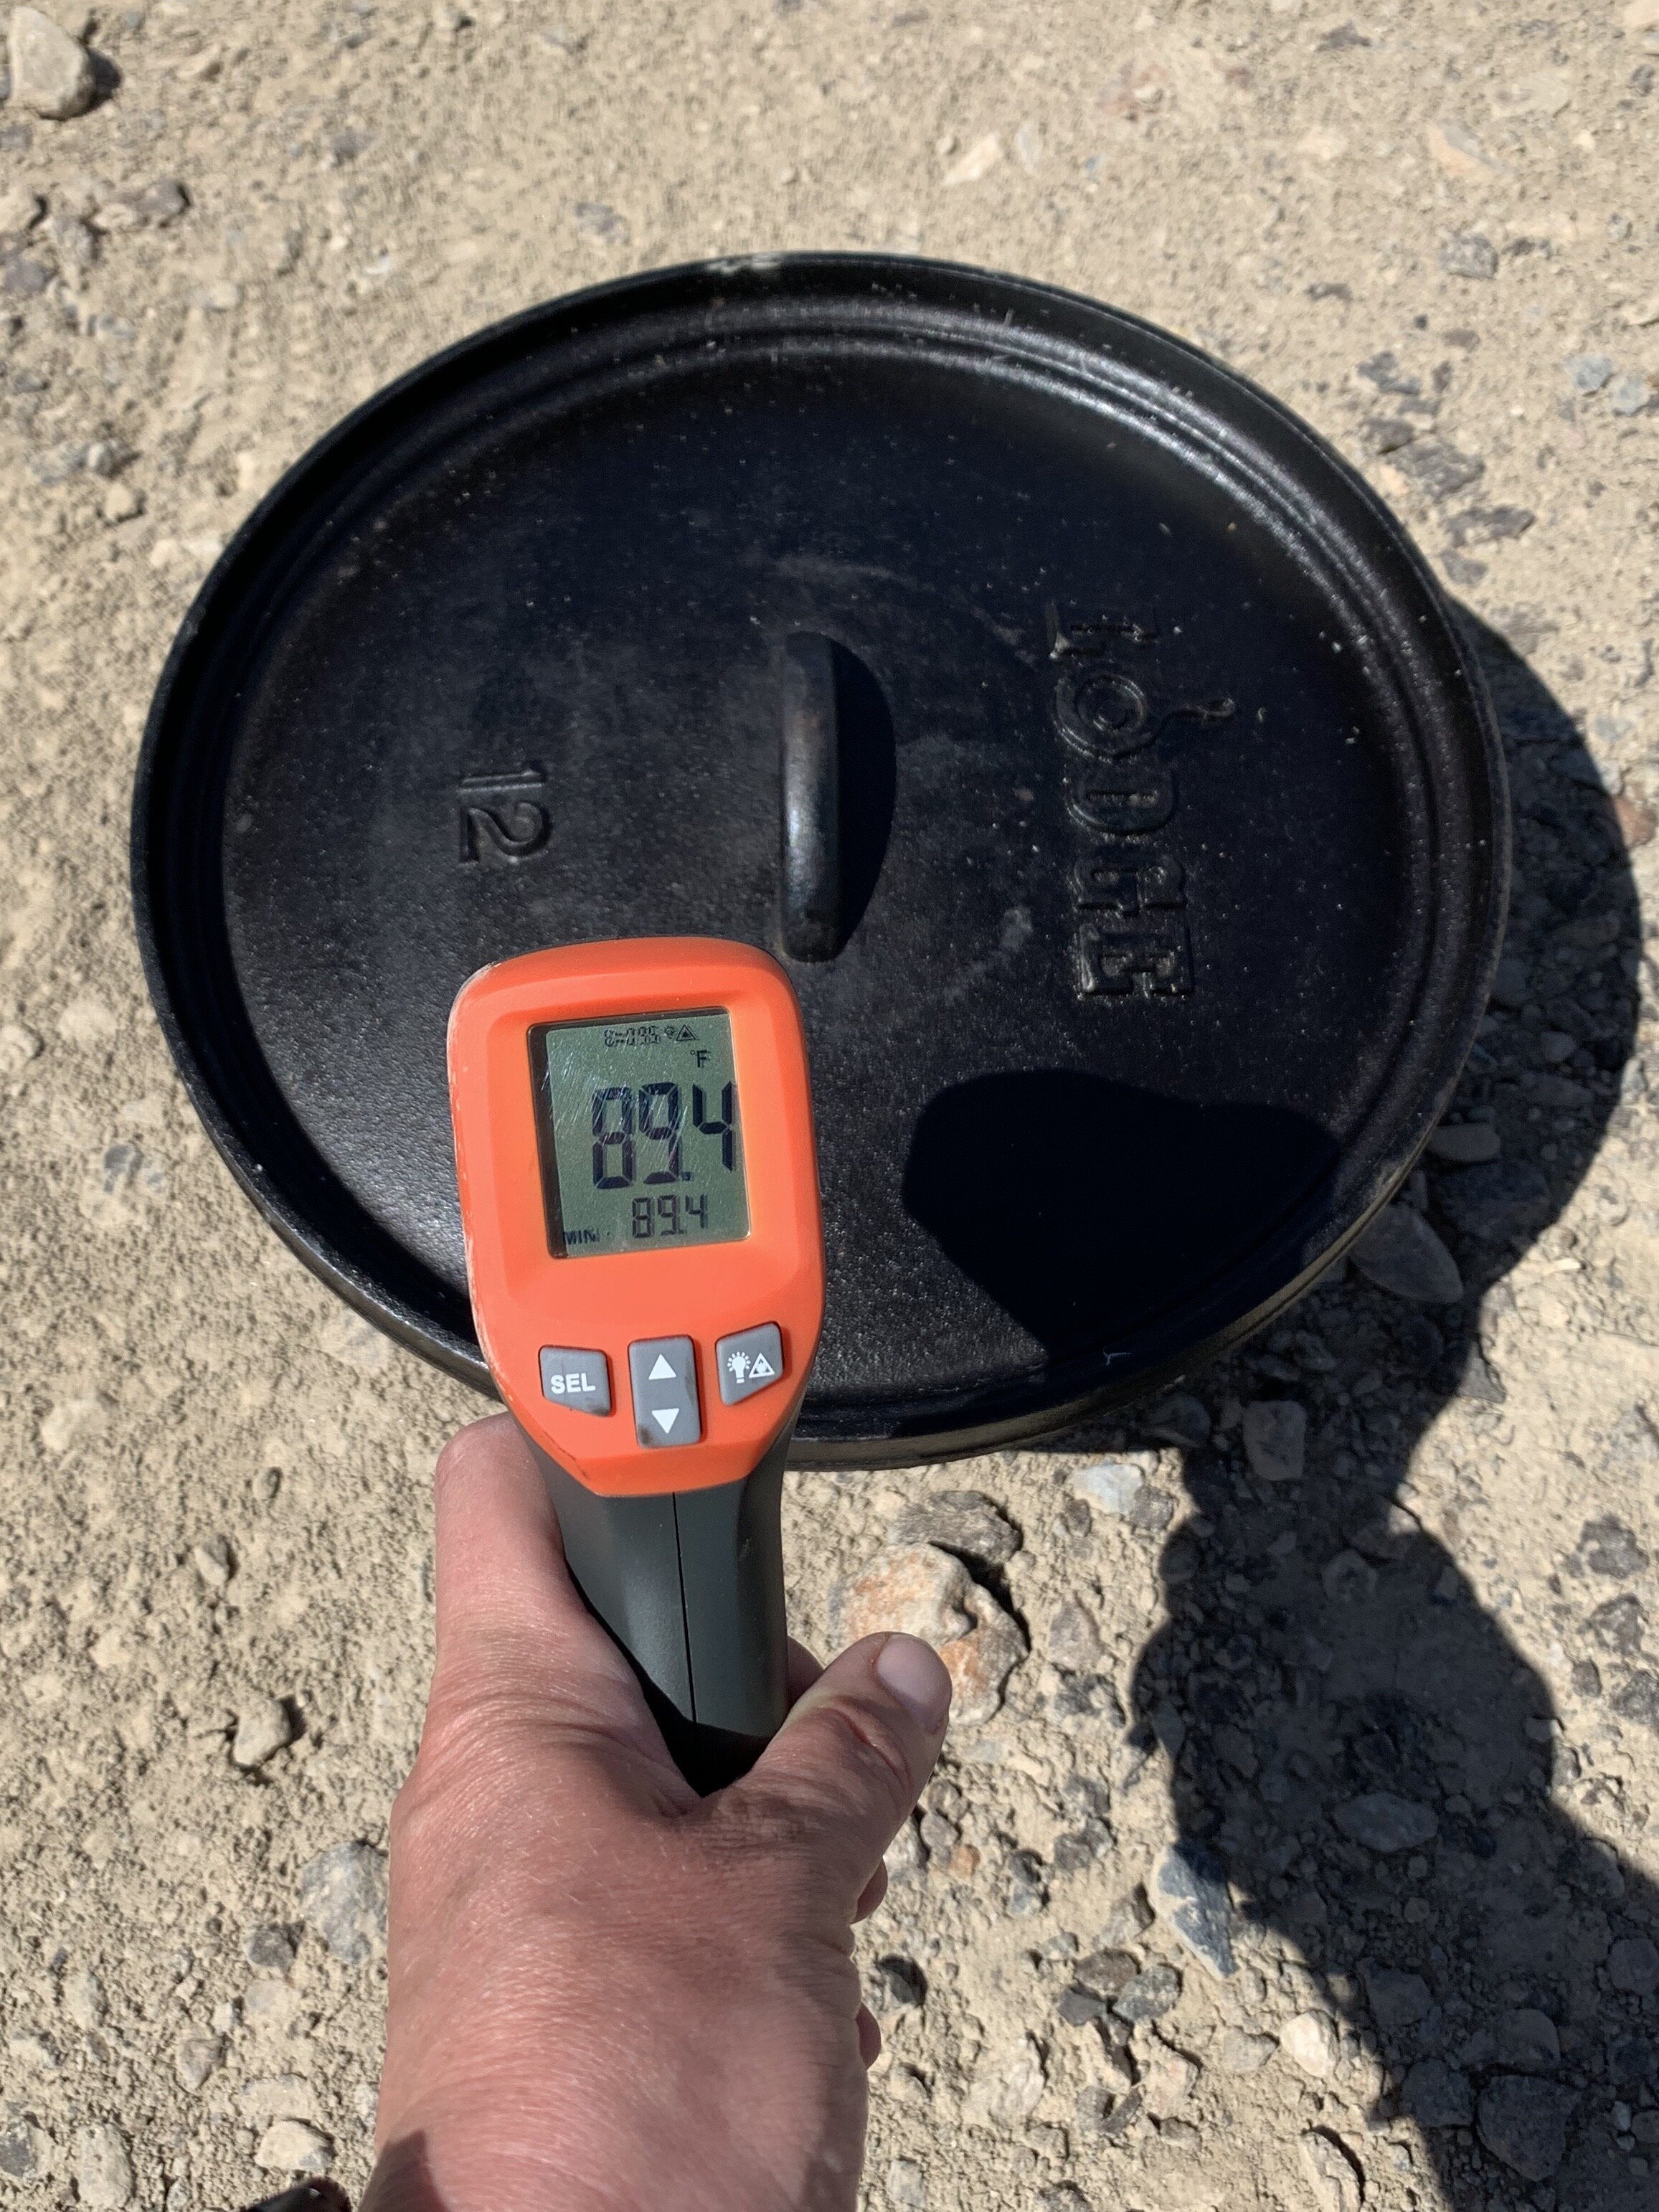
The black cast iron absorbs the heat from the sun’s rays.

The clear cover lets sun rays in and traps heat.
Note: to get your own infrared thermometer like the one pictured above go to Amazon.com.
Clicking the link in this post helps you find the right item and helps me out as an affiliate. Thanks, and have fun with your new gadget!
It took all day, but I was able to bake a couple of cookies in there. I had to frequently shift the orientation of the oven/reflective material to best reflect sunlight into the oven, but for camp cookies it was totally worth it!